When you create a graphical user interface for your amazing program, you want to add a little bit of yourself to the application. One way to do that is to use images as buttons. While some people find these types of buttons unintuitive because they don’t look like buttons, it is a legitimate way to differentiate your application from your competition.
PySimpleGUI provides a four-step process in their Cookbook for this process:
- Find your image (PNG or GIF)
- Convert your image into a Base64 byte string
- Add the Base64 byte string to your code
- Specify the Base64 byte string as the image to use when you create the button
You will follow this process in this tutorial. If you don’t have PySimpleGUI installed, then you will need to issue the following command:
python -m pip install PySimpleGUI
Now that you have PySimpleGUI, your next step is to find an image to use for your button!
Finding an Image
There are many different places you can find an image. You may have your own collection on your computer. You can go and buy icon sets online. Or you can search the Internet for images and try to find open-source or other free icons. You shouldn’t use images that are copyrighted as that can get your in legal trouble.
For this example, you can do a search using your favorite search engine. For the purpose of this tutorial, the following search string was used: “Purple Flower Icon” which found the following image on freeiconspng.com:

Now that you have an image to use, you need to convert it to a string!
Convert your image into a Base64 byte string
Now you need to convert your image to a base64 byte string. PySimpleGUI has two demos that you can use for this purpose:
- Demo_Base64_Single_Image_Encoder.py – Convert a single input file and save the string to the clipboard
- Demo_Base64_Image_Encoder.py – Convert an entire folder of images to strings and save it to
output.py
Either of these programs will work. If you use the first demo, you will need to install pyperclip in addition to PySimpleGUI. Since there is only one image for this example, that demo may make the most sense.
Once you have run that demo against the flower photo, you will have the base64-encoded string in your computer’s clipboard.
Add the Base64 byte string to your code
You can take the base64-encoded string from your clipboard and paste it into your code. You’ll want to assign that string to a variable so that you can reference it in your GUI code.
Here is the code you’ll use to show your custom button:
import PySimpleGUI as sg

flower_base64 = b'paste your base64 encoded string here'

layout = [  [sg.Text('Base64 Button Demo')],
            [sg.Button('', image_data=flower_base64,
            button_color=(sg.theme_background_color(),sg.theme_background_color()),border_width=0, key='Exit')]  ]

window = sg.Window('Flowers!', layout, no_titlebar=True)

while True:             # Event Loop
    event, values = window.read()
    print(event, values)
    if event in (sg.WIN_CLOSED, 'Exit'):
        break
window.close()
This code is based on the example from the PySimpleGUI Cookbook. You will need to paste in the base64 encoded string into this code. It is too long to include here.
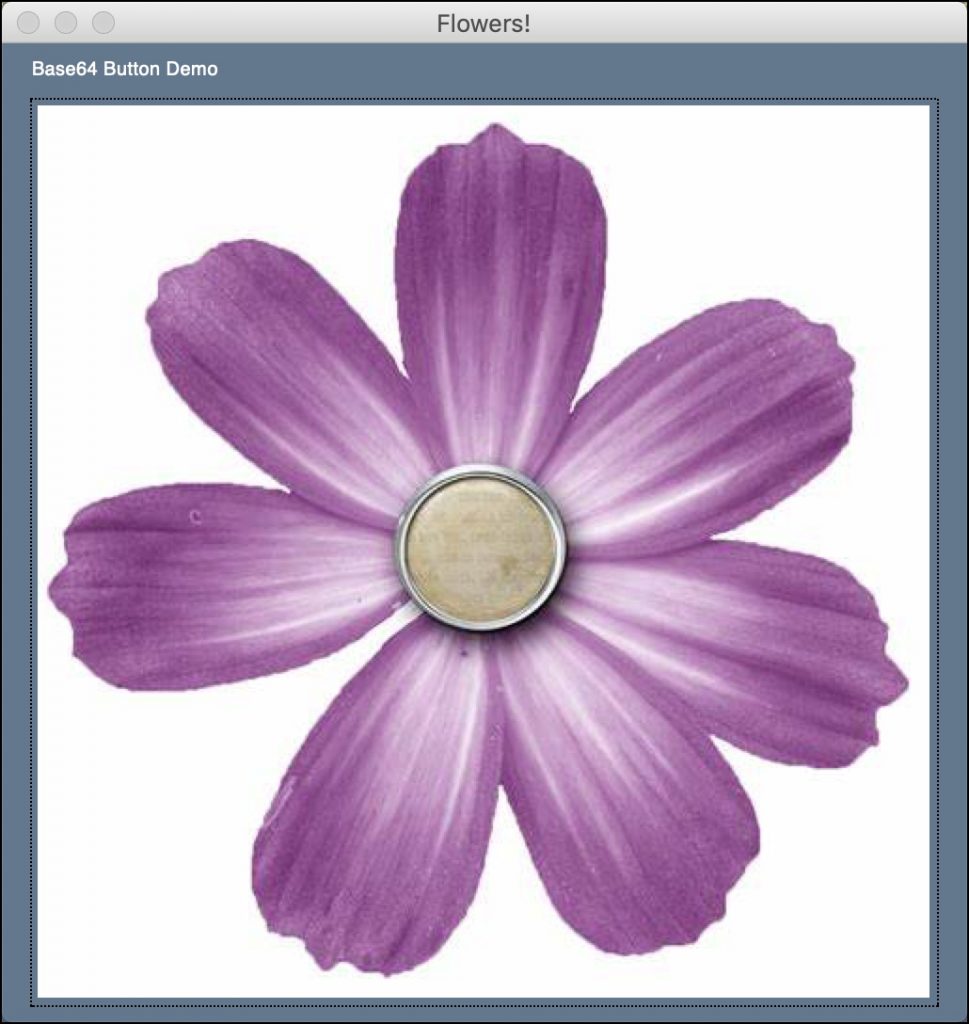
When you run this code, you’ll see a GUI that looks like this:

Doesn’t that look nice? When you click on the flower button, it closes the application.
Wrapping Up
PySimpleGUI makes creating custom buttons simple. Your button-making capabilities are only limited by your imagination.
Related Reading
Want to more about PySimpleGUI, then check out the following resources:
- PySimpleGUI – How to Draw Shapes on an Image with a GUI
- Creating an Image Viewer with PySimpleGUI
- Create an Exif Viewer with PySimpleGUI
- The Demos for PySimpleGUI
The post PySimpleGUI: Using an Image as a Button appeared first on Mouse Vs Python.
from Planet Python
via read more
No comments:
Post a Comment