Flask web applications are highly customizable by developers thanks to the framework's extension-based architecture, but that flexibility can sometimes lead to more errors when you run the application due to rough edges between the libraries.
Reporting errors is crucial to running a well-functioning Flask web application, so this tutorial will guide you through adding a free, basic Sentry configuration to a fresh Flask project.
Tutorial Requirements
Ensure you have Python 3 installed, because Python 2 reached its end-of-life at the beginning of 2020 and is no longer supported. Preferrably, you should have Python 3.7 or greater installed in your development environment. This tutorial will also use:
- Flask web framework, version 1.1.2
- a hosted Sentry instance on sentry.io, which we'll need an account to access
- the Sentry Python helper library to send exception data to our Sentry instance, with the Flask integration
All code in this blog post is available open source under the MIT license on GitHub under the report-errors-flask-web-apps-sentry directory of the blog-code-examples repository. Use the source code as you desire for your own projects.
Development environment set up
Change into the directory where you keep your Python virtual environments. Create a new virtualenv for this project using the following command.
Install the Flask and Sentry-SDK code libraries into a new Python virtual environment using the following commands:
python -m venv sentryflask
source sentryflask/bin/activate

pip install flask>=1.1.2 sentry-sdk[flask]==0.15.1
Note that we installed the Flask integration as part of the Sentry SDK, which is why the dependency is sentry-sdk[flask] rather than just sentry-sdk.
Now that we have all of our dependencies installed we can code up a little application to show how the error reporting works.
Creating the application
We have everything we need to start building our application. Create a new directory for your project. I've called mine report-errors-flask-web-apps-sentry in the examples repository but you can use a shorter name if you prefer. Open a new file named app.py and write the following code in it.
# app.py
from flask import Flask, escape, request


app = Flask(__name__)


@app.route('/divide/<int:numerator>/by/<int:denominator>/')
def hello(numerator, denominator):
    answer = numerator / denominator
    return f'{numerator} can be divided by {denominator} {answer} times.'
The above code is a short Flask application that allows input via the URL for two integer values: a numerator and a denominator.
Save the file and run it using the flask run command:
env FLASK_APP=app.py flask run
If you see the following output on the command line that means the development server is working properly:
 * Serving Flask app "app.py"
 * Environment: production
   WARNING: This is a development server. Do not use it in a production deployment.
   Use a production WSGI server instead.
 * Debug mode: off
 * Running on http://127.0.0.1:5000/ (Press CTRL+C to quit)
Test it by going to http://localhost:5000/divide/50/by/10/ and you will get the following output in your web browser:

With our base application working, we can now add error reporting for the situations that do not work as expected.
Adding Sentry to our app
It's time to add Sentry with the Flask integration into the mix, so that we can easily see when the route errors out due to bad input.
Sentry can either be self-hosted or used as a cloud service through Sentry.io. In this tutorial we will use the cloud hosted version because it's faster than setting up your own server as well as free for smaller projects.
Go to Sentry.io's homepage.

Sign into your account or sign up for a new free account. You will be at the main account dashboard after logging in or completing the Sentry sign up process.
There are no errors logged on our account dashboard yet, which is as expected because we have not yet connected our account to our Python application.
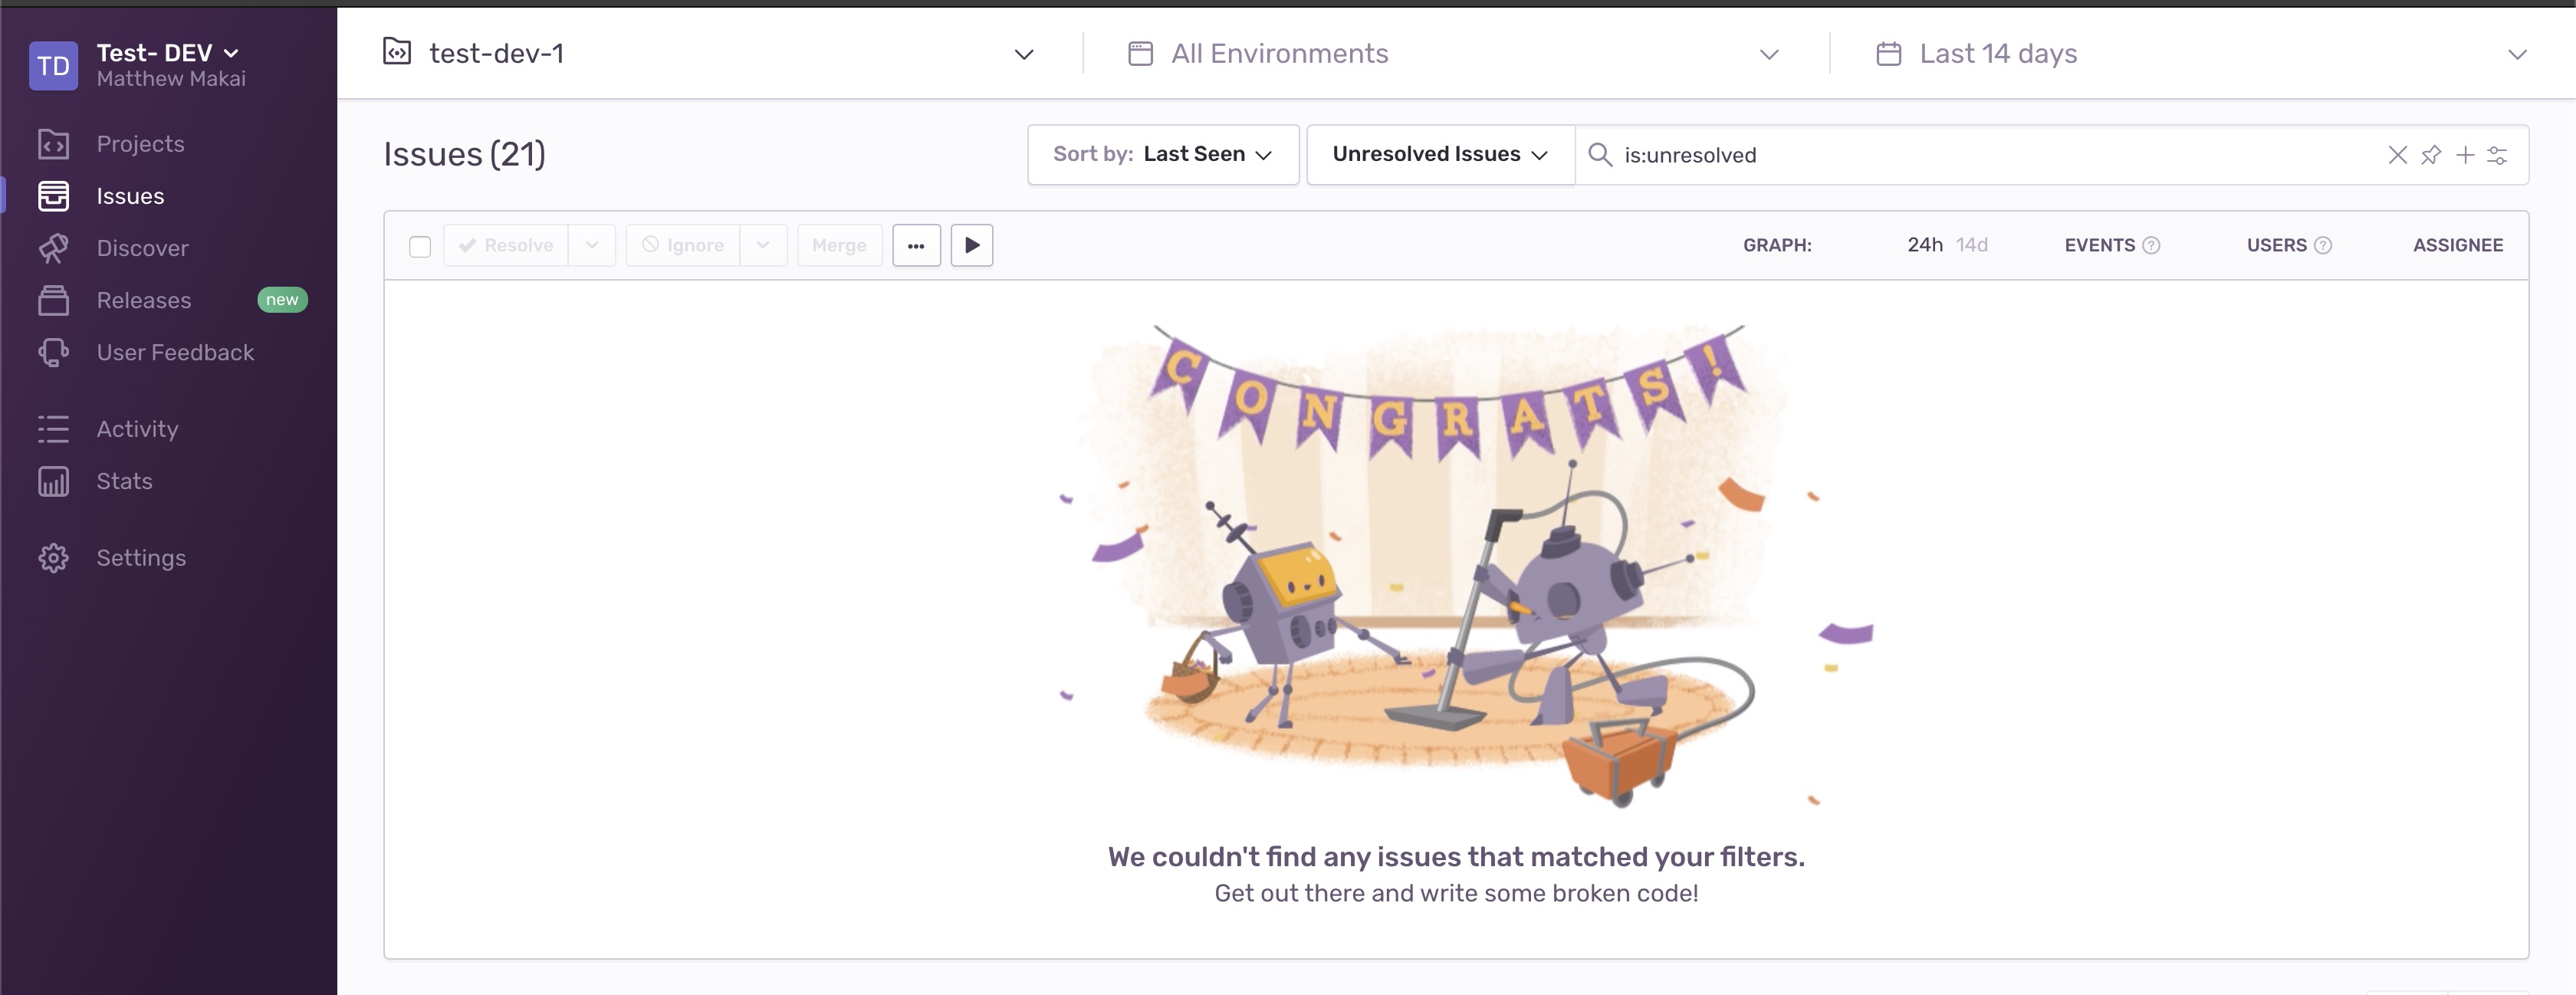
You'll want to create a new Sentry Project just for this application so click "Projects" in the left sidebar to go to the Projects page.

On the Projects page, click the "Create Project" button in the top right corner of the page.
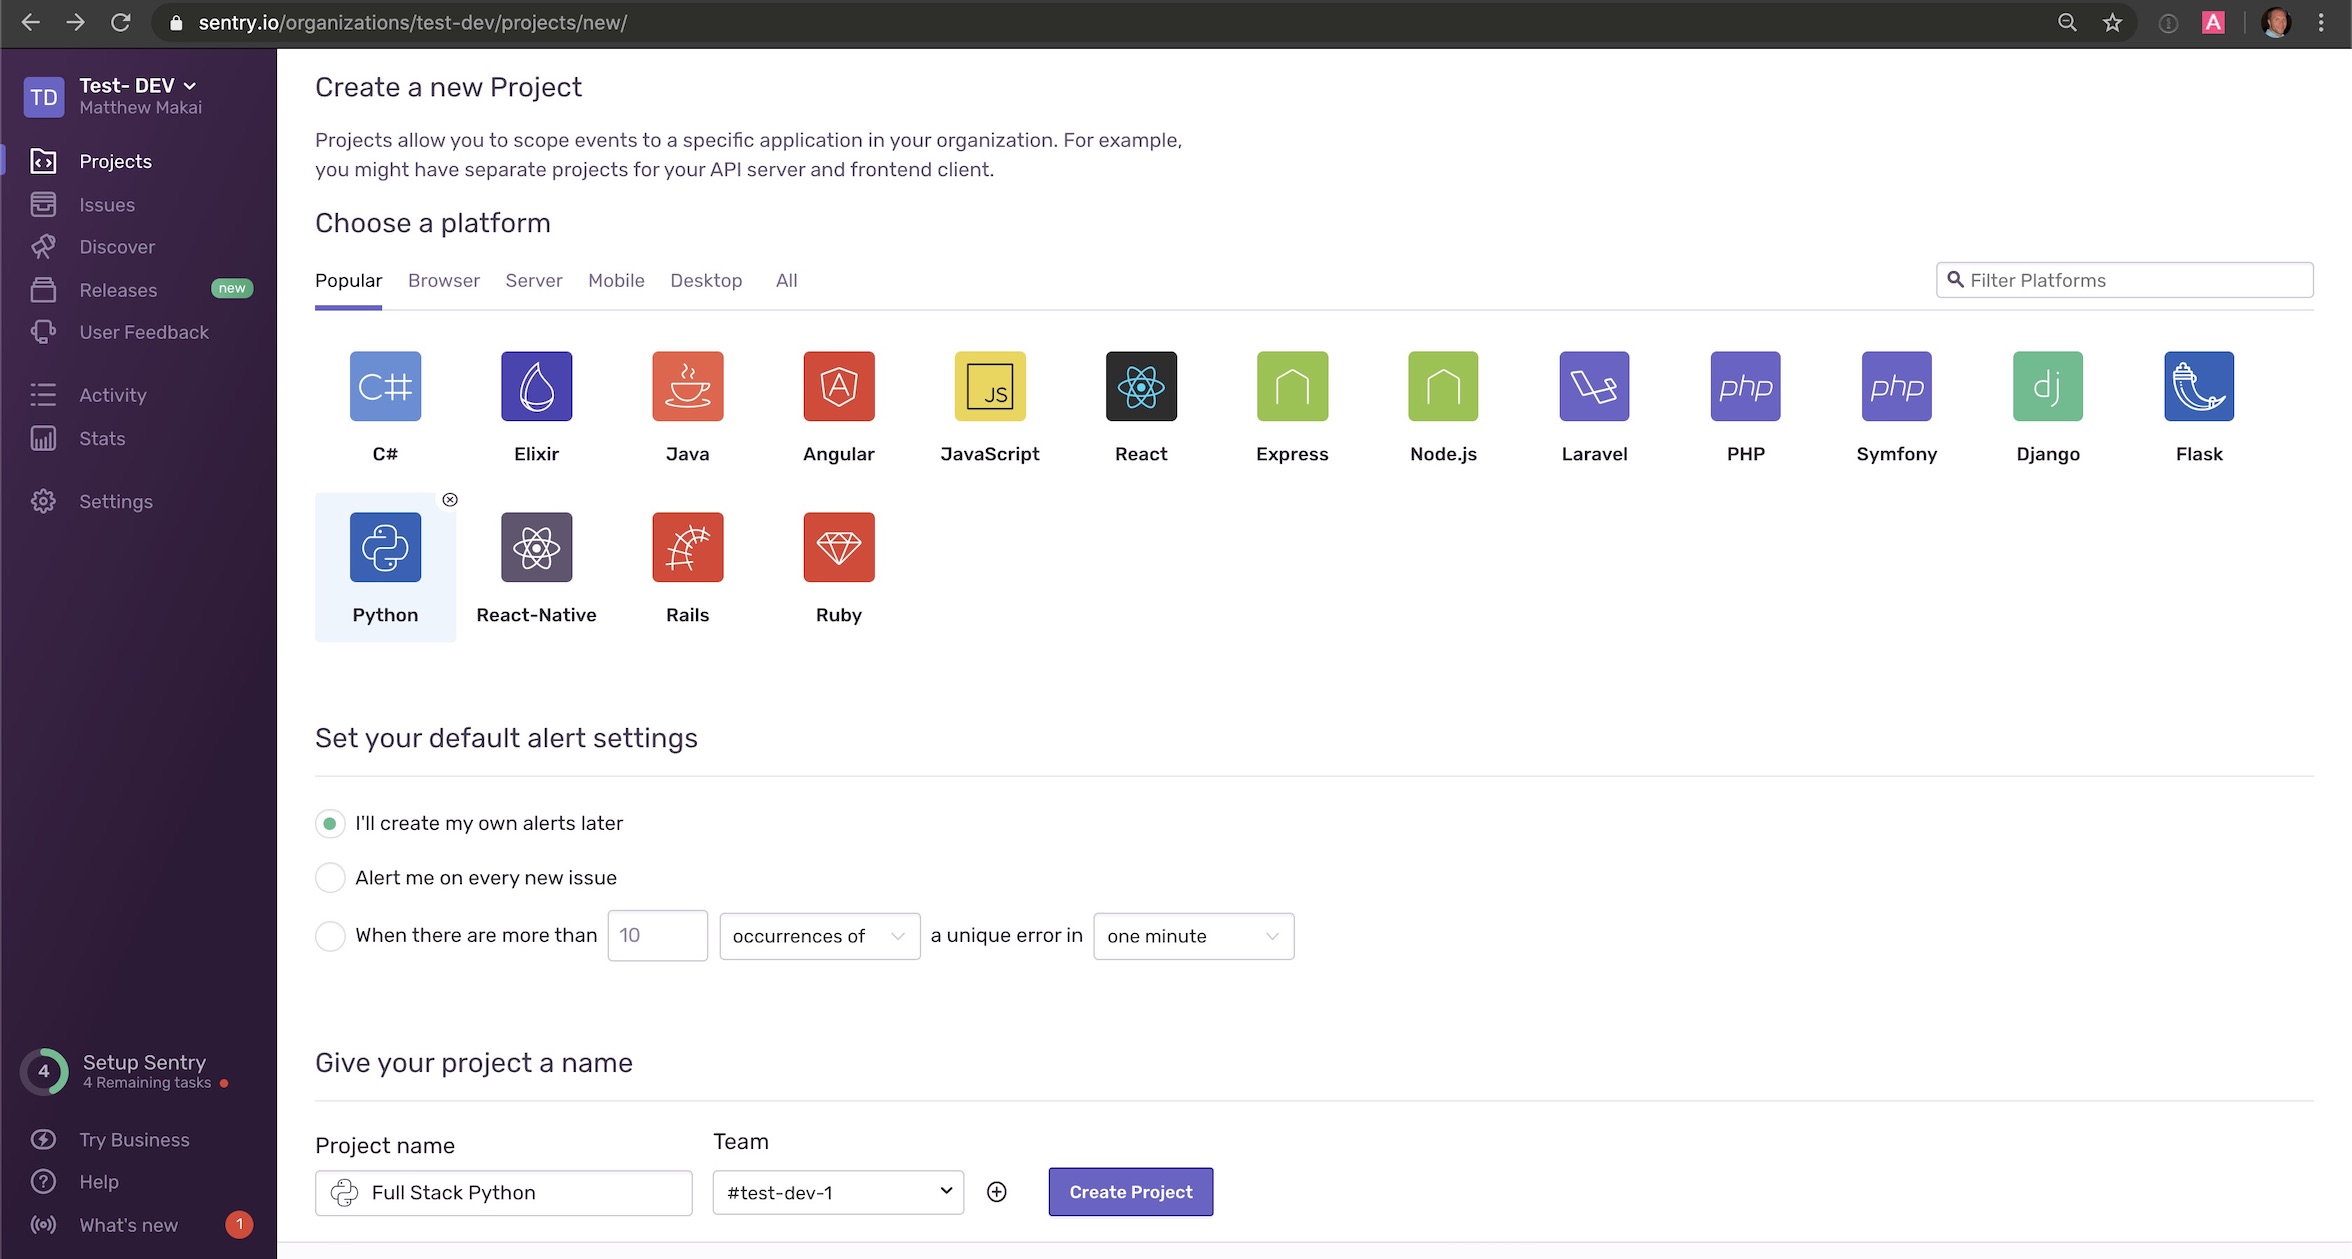
You can either choose "Flask" or select "Python". I usually just choose "Python" if I do not yet know what framework I'll be using to build my application. Next, give your new Project a name and then press the "Create Project" button. Our new project is ready to integrate with our Python code.
We need the unique identifier for our account and project to authorize our Python code to send errors to this Sentry instance. The easiest way to get what we need is to go to the Python+Flask documentation page and read how to configure the SDK.
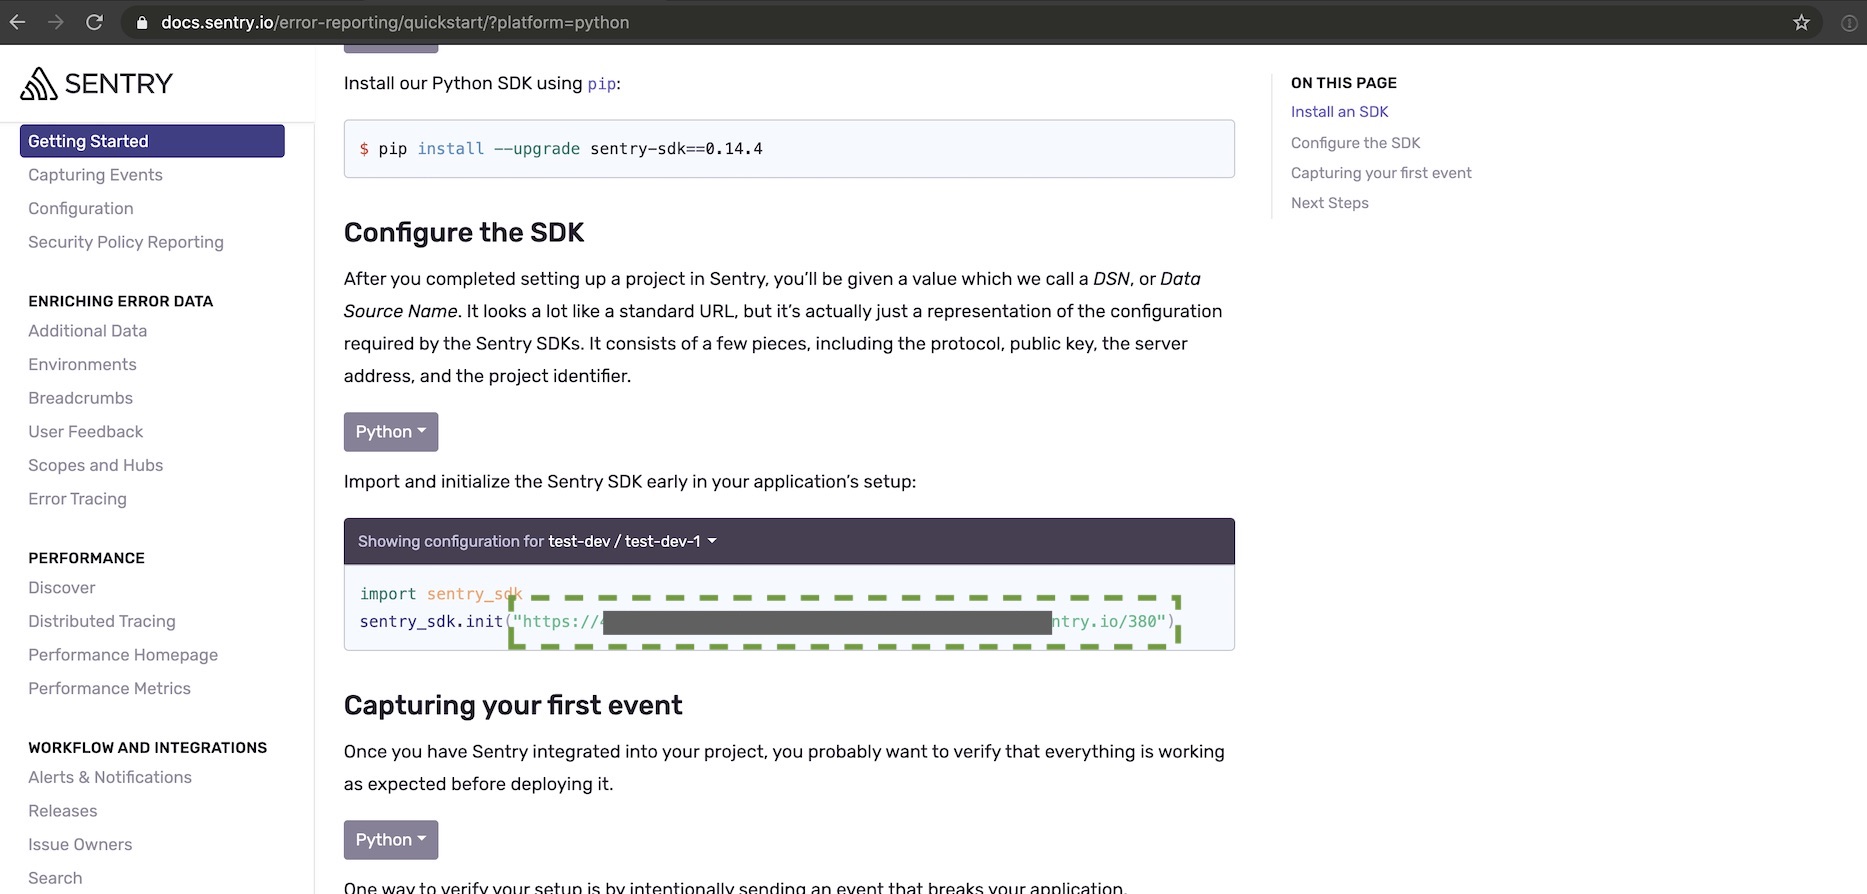
Copy the string parameter for the init method and set it as an environment variable rather than having it exposed in your project's code.
export SENTRY_DSN='https://yourkeygoeshere.ingest.sentry.io/project-number'
Make sure to replace "yourkeygoeshere" with your own unique identifier and "project-number" with the ID that matches the project you just created.
Check that the SENTRY_DSN is set properly in your shell using the echo command:
echo $SENTRY_DSN
Update app.py with the following highlighted lines of code.
# app.py
~~import os
~~import sentry_sdk
from flask import Flask, escape, request
~~from sentry_sdk.integrations.flask import FlaskIntegration


~~sentry_sdk.init(
~~    dsn=os.getenv('SENTRY_DSN'), integrations=[FlaskIntegration()]
~~)


app = Flask(__name__)


@app.route('/divide/<int:numerator>/by/<int:denominator>/')
def hello(numerator, denominator):
    answer = numerator / denominator
    return f'{numerator} can be divided by {denominator} {answer} times.'
The above new lines of code initialize the Sentry client and allow it to properly send any errors that occur over to the right Sentry service.
Testing the Sentry Integration
The Sentry dashboard shows that the service is still waiting for events.
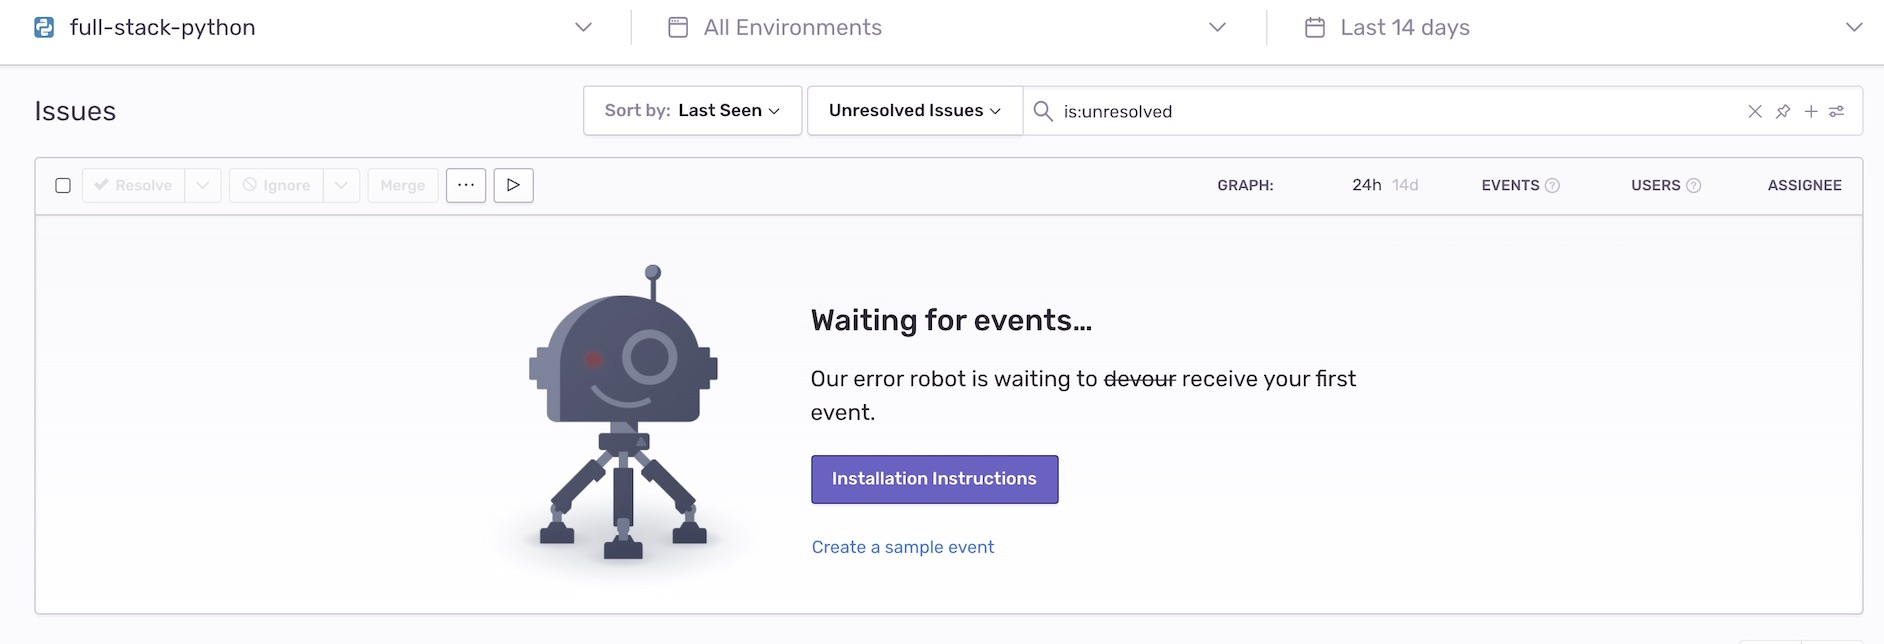
Let's make an error happen to see if we've properly connected the Flask integration with our application.
Try to divide by zero, by going to http://localhost:5000/divide/50/by/0/ in your web browser. You should get an "Internal Server Error".

Back over in the Sentry dashboard, the error appears in the list.

We can drill into the error by clicking on it and get a ton more information, not just about our application but also about the client that visited the site. This is handy if you have an issue in a specific browser or other type of client when building an API.
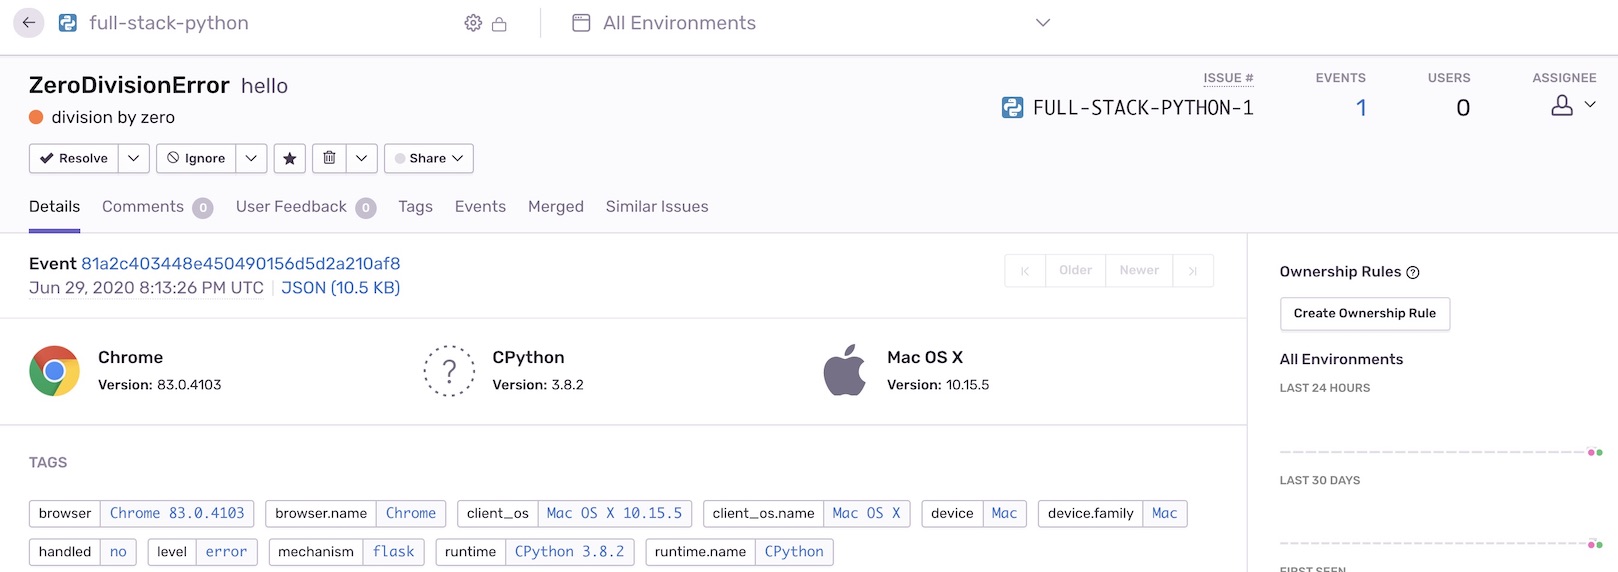
With that in place, you can now build out the rest of your Flask application knowing that all of the exceptions will be tracked in Sentry.
What's next?
We just finished building a Flask app to show how quickly the hosted version of Sentry can be added to applications so you do not lose track of your error messages.
Next, you can try one of these tutorials to add other useful features to your new application:
- Responding to SMS Text Messages with Python & Flask
- Develop and Run Flask Apps within Docker Containers
- Add Okta Authentication to an Existing Flask App
You can also determine what to code next in your Python project by reading the Full Stack Python table of contents page.
Questions? Contact me via Twitter @fullstackpython or @mattmakai. I am also on GitHub with the username mattmakai.
If you see an issue or error in this tutorial, please fork the source repository on GitHub and submit a pull request with the fix.
from Planet Python
via read more
No comments:
Post a Comment