Red Hat CodeReady Workspaces provide developers with containerized development environments hosted on OpenShift/Kubernetes. DevOps teams can now use a hosted development environment that’s pre-built for their chosen stack and customized for their project.
CodeReady Workspaces can help you rapidly onboard developers for your project as everything they need to develop is running in a containized workspace. In this post, we’re going to use CodeReady Workspaces to get up and running quickly with an existing open source project, Peak. Peak is a multi-container Kubernetes application for performance testing web services, and it allows you to create distributed performance tests using the Kubernetes Batch API for test orchestration. We’ll make some modifications to Peak’s Flask front end, a stateless web interface that interacts with a Falcon RESTful API to return data about performance tests. You won’t need the complete Peak application deployed, though if you like, you can find steps to deploy it to OpenShift here.
To follow along you’ll need a Red Hat OpenShift Container Platform 3.11 environment. You can use the Red Hat Container Development Kit on your Windows, macOS, or Linux laptop or a hosted Red Hat OpenShift instance to do it on online.
Let’s get started!
Deploying CodeReady Workspaces
CodeReady Workspaces uses a Kubernetes Operator for deployment. An Operator is basically a method of packaging, deploying, and managing a Kubernetes application. If you’d like to read more about the Operator Framework, Brandon Philips has an awesome write-up on the OpenShift blog.
Create a new project for your CodeReady components:
$ oc new-project codeready
You can download the CodeReady Workspaces Kubernetes Operator here. Once downloaded, run the deploy script to instantiate the Operator into the codeready project:
$ ./deploy.sh --deploy -p=codeready
You should see something like this once the Operator and components are successfully deployed:
[INFO]: Welcome to CodeReady Workspaces Installer
[INFO]: Found oc client in PATH
[INFO]: Checking if you are currently logged in...
[INFO]: Active session found. Your current context is: codeready/master-youropenshift-com:443/user
[INFO]: Creating installer service account
serviceaccount/che-operator created
rolebinding.rbac.authorization.k8s.io/che-operator created
configmap/che-operator created
configmap/che-operator patched
Unable to use a TTY - container che-operator did not allocate one
If you don't see a command prompt, try pressing enter.
time="2019-02-05T22:35:14Z" level=info msg="postgres successfully deployed"
time="2019-02-05T22:35:14Z" level=info msg="Provisioning resources in pod postgres-7dd4d9cd8f-vs64b"
time="2019-02-05T22:35:21Z" level=info msg="Provisioning completed"
time="2019-02-05T22:35:21Z" level=info msg="Waiting for deployment keycloak. Default timeout: 420 seconds"
time="2019-02-05T22:38:17Z" level=info msg="keycloak successfully deployed"
time="2019-02-05T22:38:17Z" level=info msg="Provisioning resources in pod keycloak-66f64ddd49-qhmsp"
time="2019-02-05T22:38:59Z" level=info msg="Provisioning completed"
time="2019-02-05T22:39:00Z" level=info msg="Waiting for deployment che. Default timeout: 420 seconds"
time="2019-02-05T22:40:40Z" level=info msg="che successfully deployed"
time="2019-02-05T22:40:40Z" level=info msg="Che is available at: http://codeready-codeready.apps.youropenshift.com"
time="2019-02-05T22:40:40Z" level=info msg="Deployment took 6m11.033927729s"
[INFO]: CodeReady Workspaces successfully deployed and available at http://codeready-codeready.apps.youropenshift.com
Creating a Flask workspace
First, we need to discover the URL for the CodeReady Workspaces dashboard:
$ oc get routes
NAME            HOST/PORT                                    PATH      SERVICES  PORT    TERMINATION   WILDCARD
codeready       codeready-codeready.apps.youropenshift.com             che-host  <all>                 None
keycloak        keycloak-codeready.apps.youropenshift.com              keycloak  <all>                 None
Navigate to the Codeready URL, and you’ll be redirected to a Red Hat Single Sign-On login page. You can use the credentials admin/admin initially:
After you’re logged in, you’ll be presented with the CodeReady dashboard.
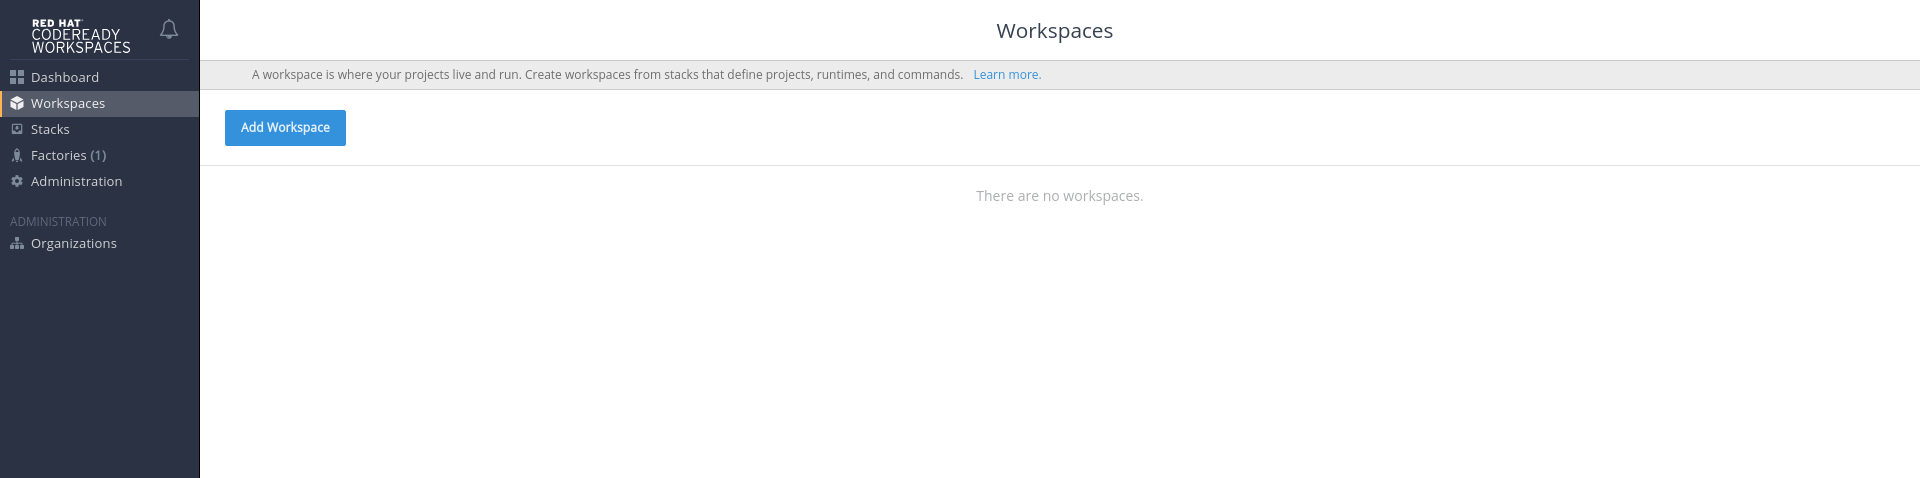
Select ‘Add Workspace,’ and give your workspace a name on the next page. Then, select the ‘python’ stack from the list, and leave 2GB of RAM for the dev-machine.

Next, select the ‘Add or Import Project’ button. Select ‘Github,’ and then enter the URL for the Peak Flask application: https://github.com/peak-oss/peakweb.

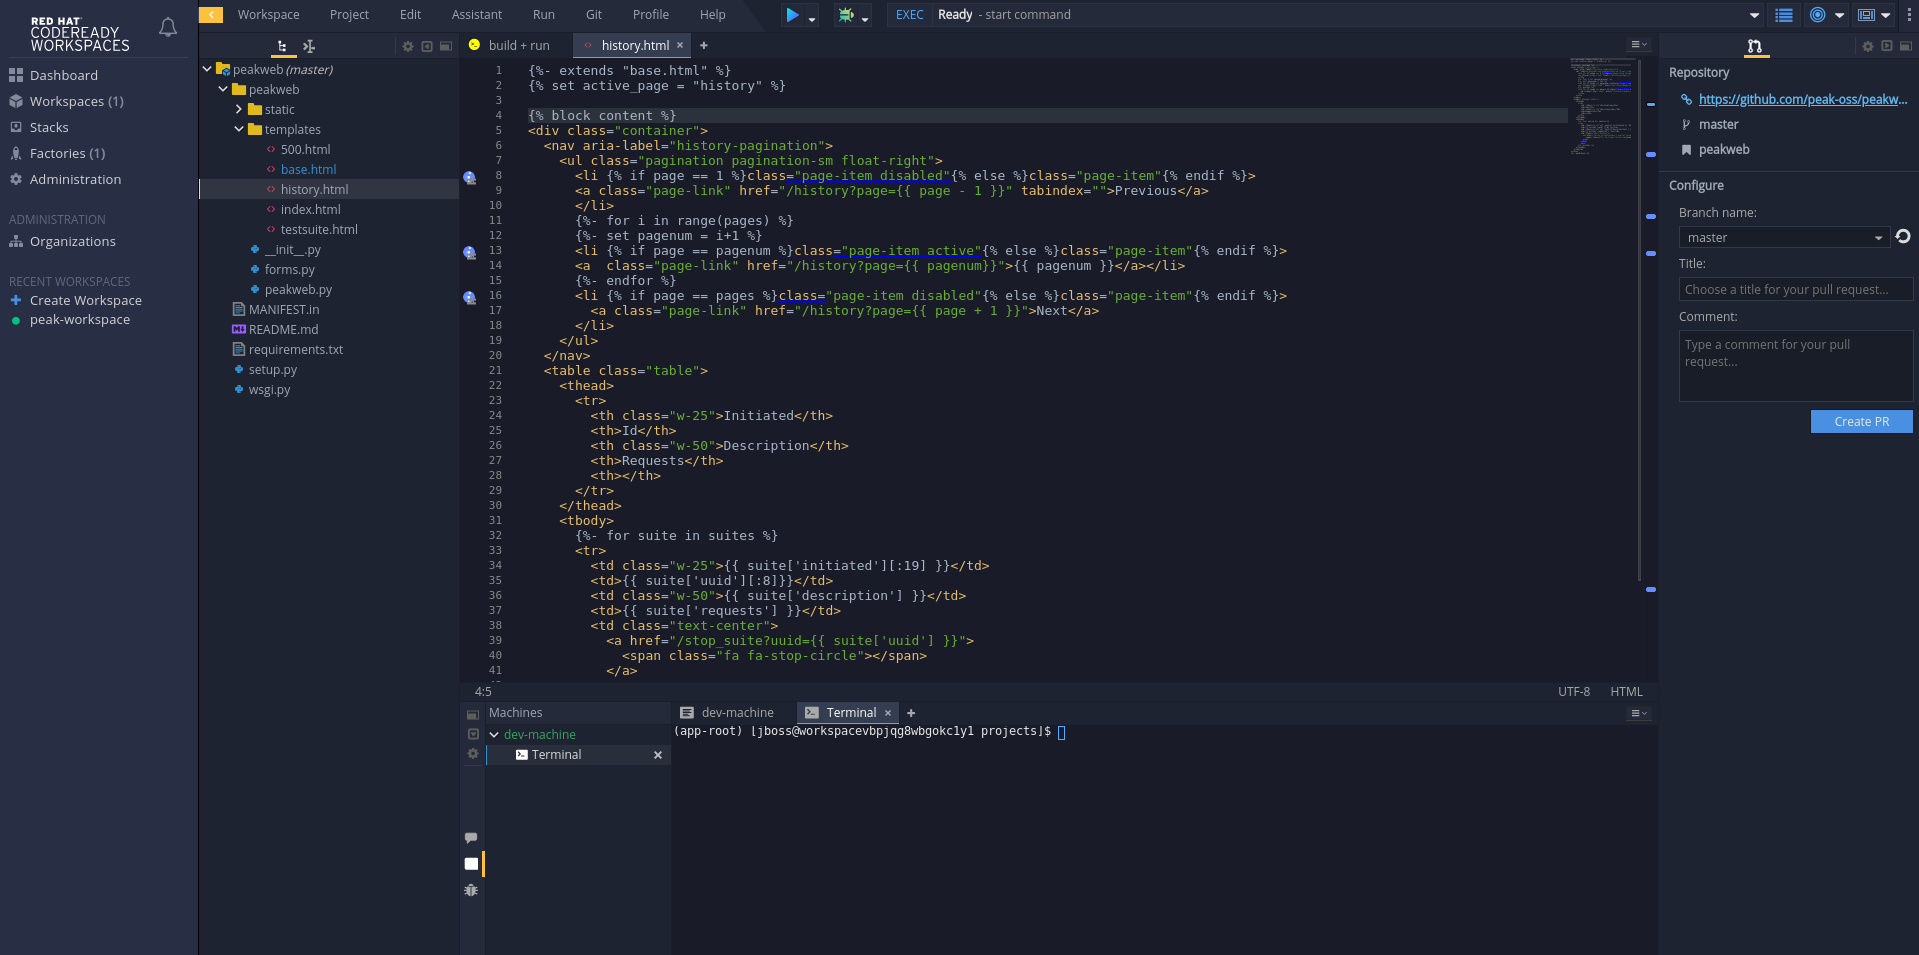
Finally, select ‘Add’ and then ‘Create & Open’. Our CodeReady Workspace is now available, and you’ll find the Peak code has already been cloned and Python development tools are installed:
Running the Flask app
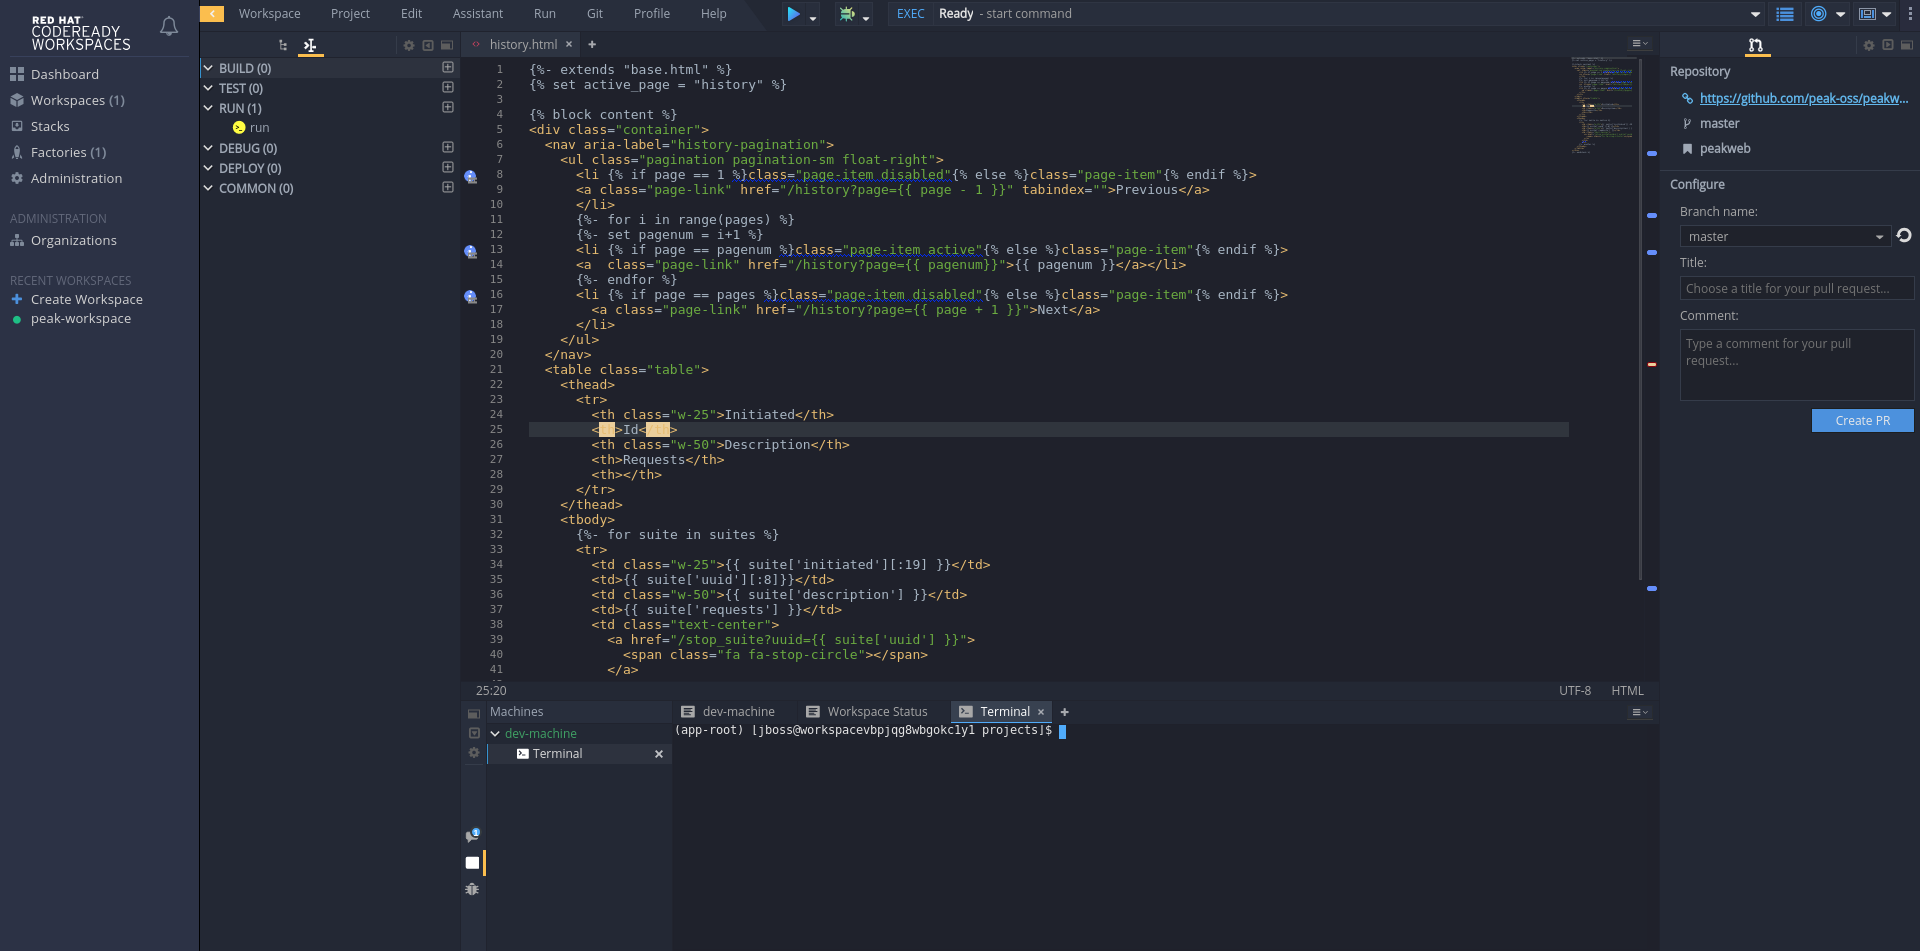
We have our code cloned and our development tools installed, so let’s try running the Flask application. From the menu, select ‘Assistant > Tool Windows > Commands.’ You’ll now see the commands window presented and a single command: run:
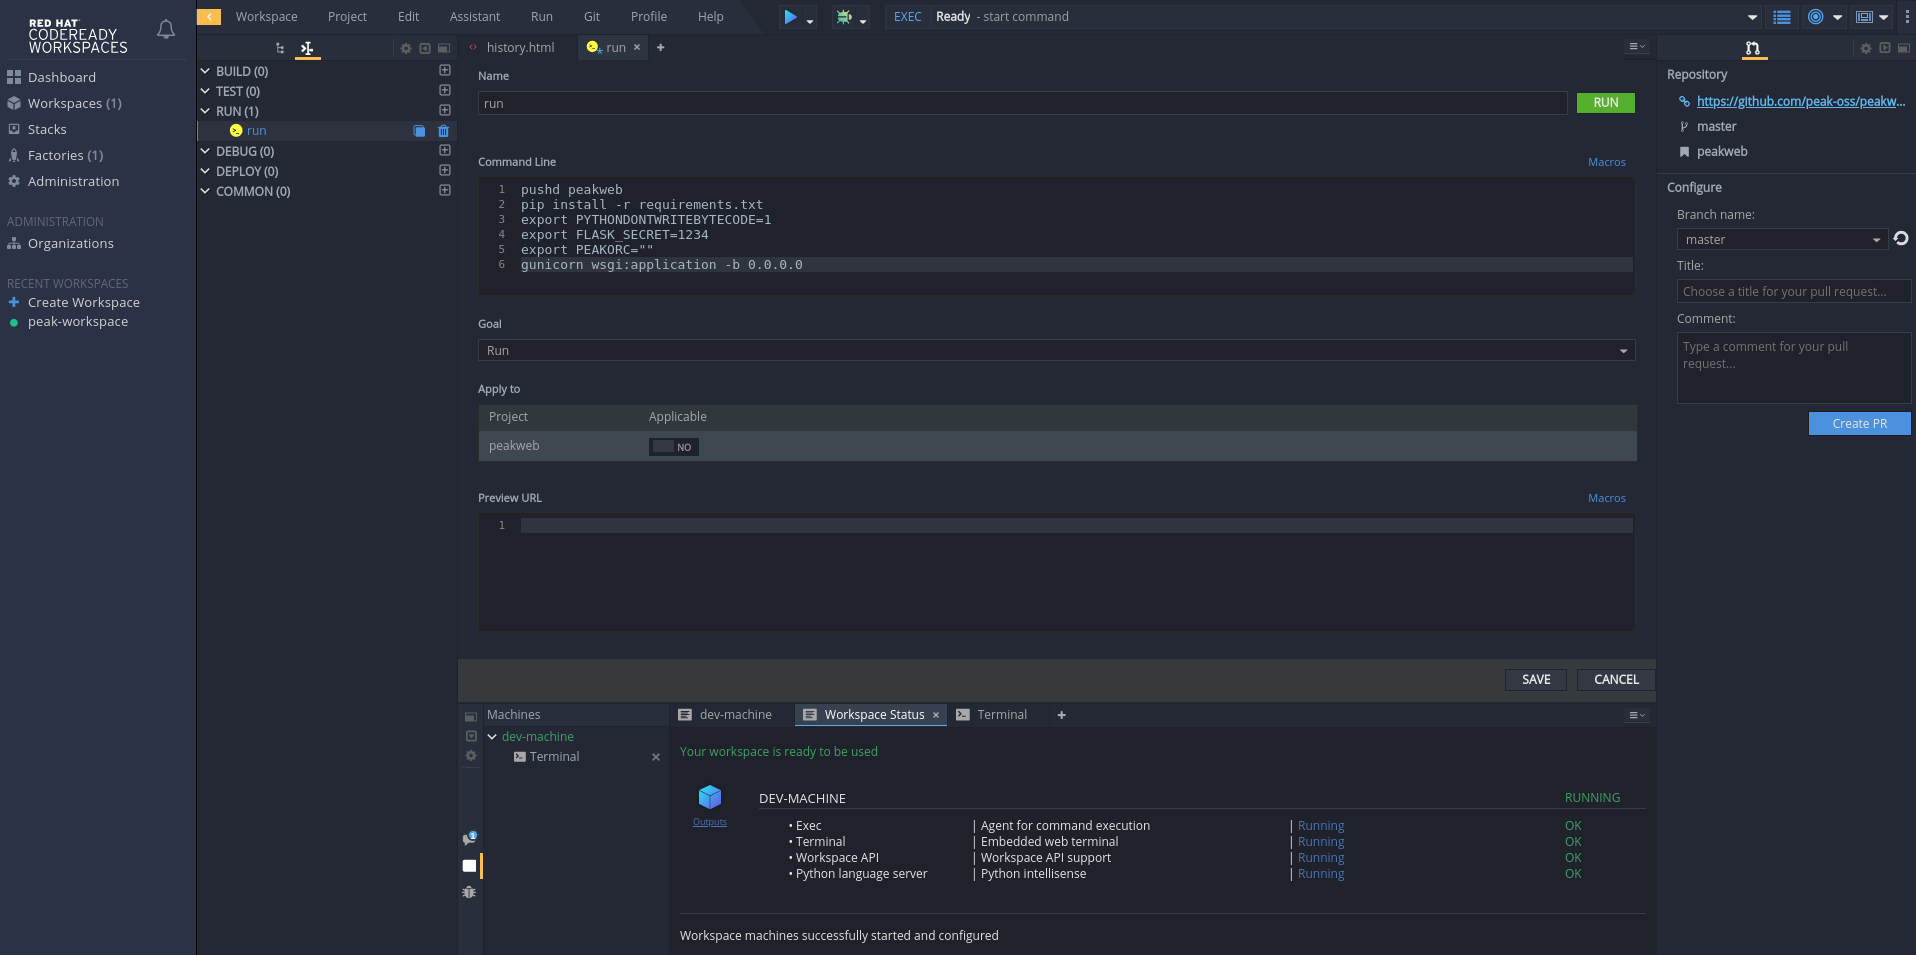
Click the ‘run’ command to edit it, and copy the following script into the ‘Command line’ section:
pushd peakweb
pip install -r requirements.txt
export PYTHONDONTWRITEBYTECODE=1
export FLASK_SECRET=1234
export PEAKORC=""
gunicorn wsgi:application -b 0.0.0.0
Let’s look a little deeper at this script:
pushd peakweb: Change into thepeakwebdirectory holding our code.pip install -r requirements.txt: Ensure the Python dependencies for the project are installed.export PYTHONDONTWRITEBYTECODE=1: Python leaves bytecode artifacts around when we run the application, and we don’t want these cluttering our source code.export FLASK_SECRET=1234: This is the cross-site request forgery (CSRF) secret for the application. In production, we’d set this to a more complex string value.export PEAKORC="": This environment variable defines the Peak API that the Flask front end communicates with. We don’t need it for the changes we’ll make, though the application won’t start without this.gunicorn wsgi:application -b 0.0.0.0: This command starts the Flask application and binds to all interfaces in our containerized server.
Once finished, your new command should look like the screenshot below:
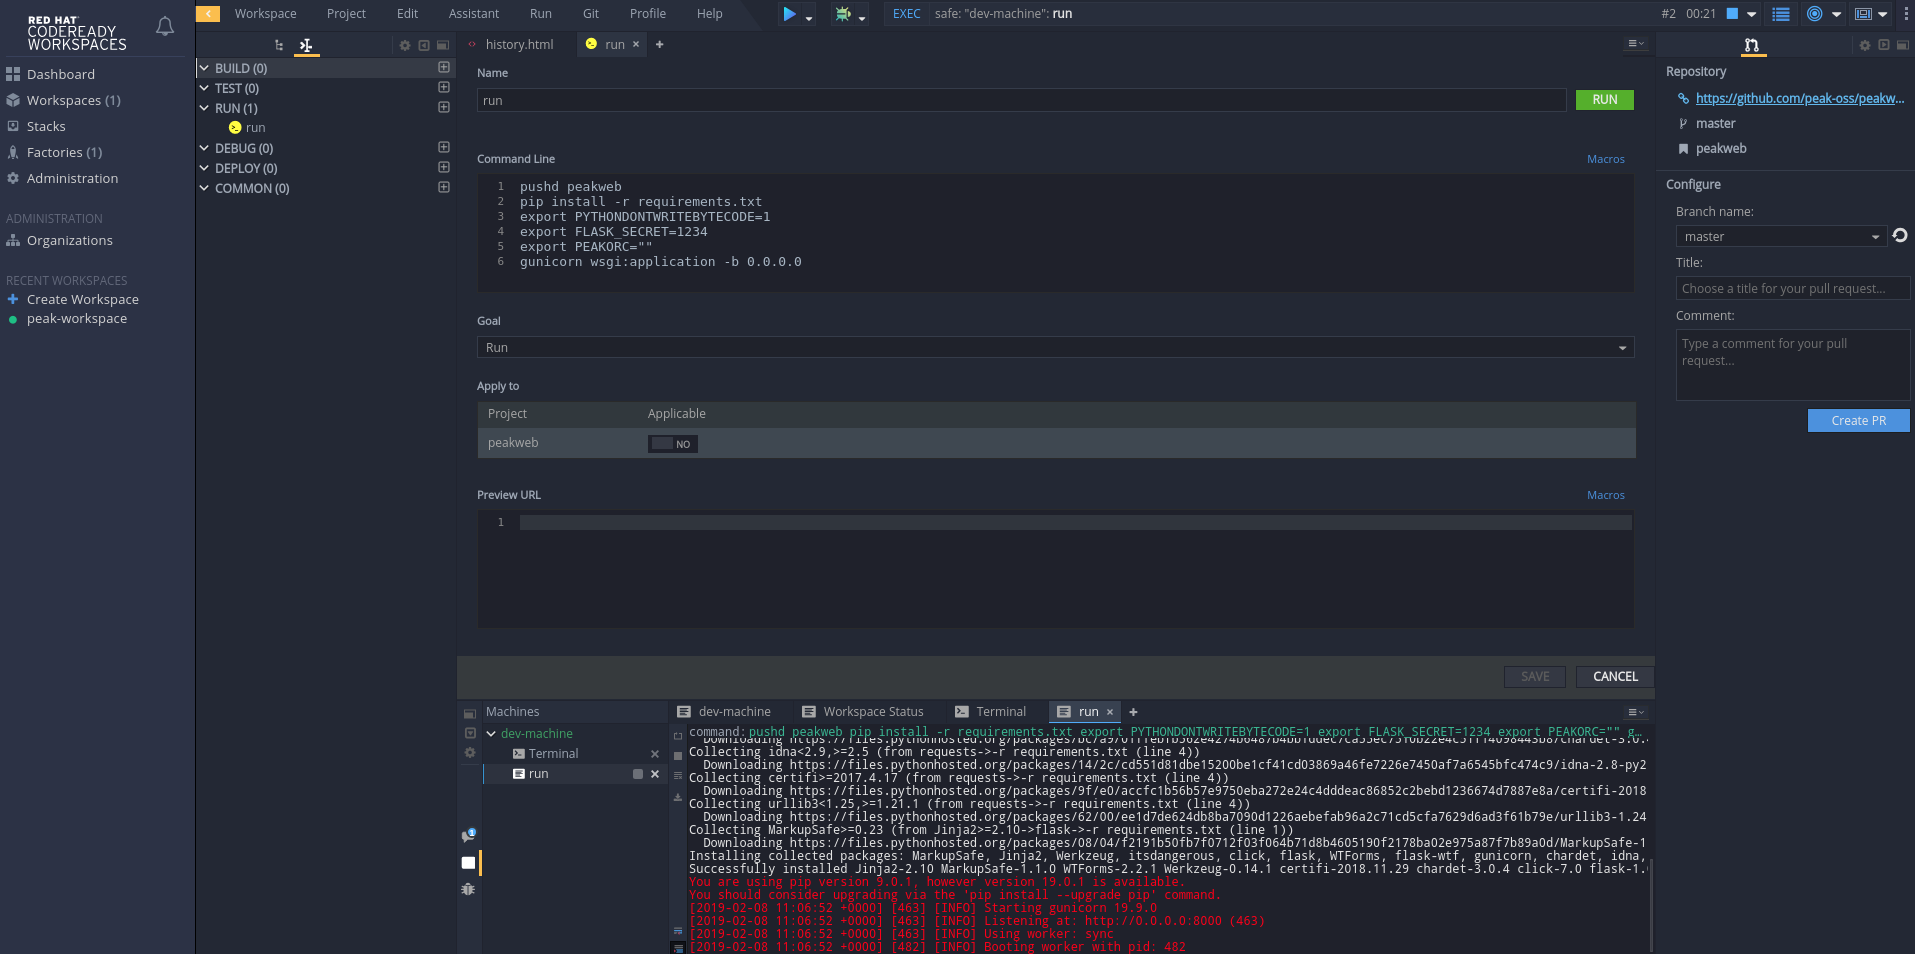
Click ‘Save’ and then ‘Run’ to try out the command. You’ll see a new terminal window appear with output from the command we ran above:
We can now see what our deployed app looks like. Select the [+] next to the ‘run’ command to open the ‘Servers’ menu:
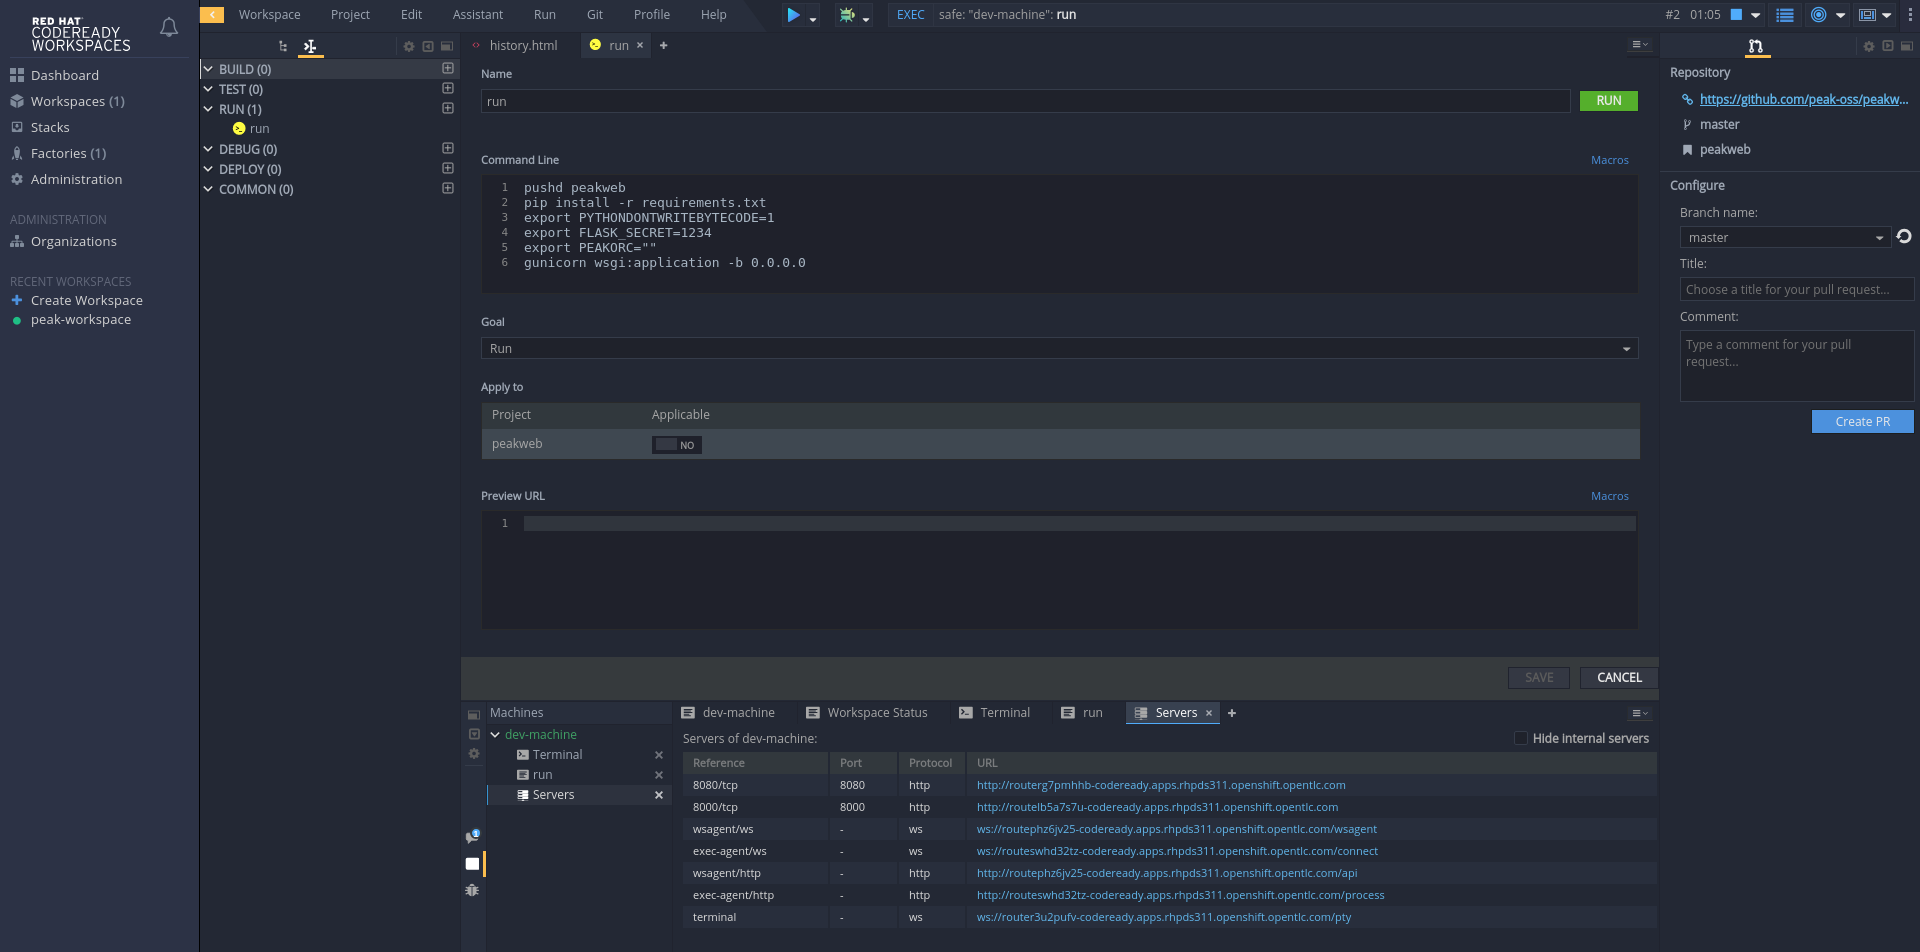
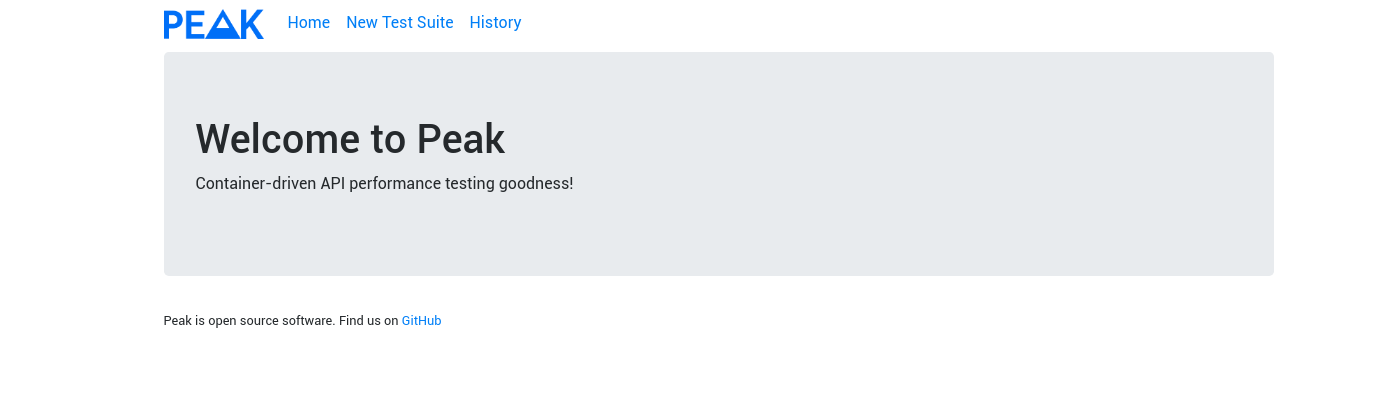
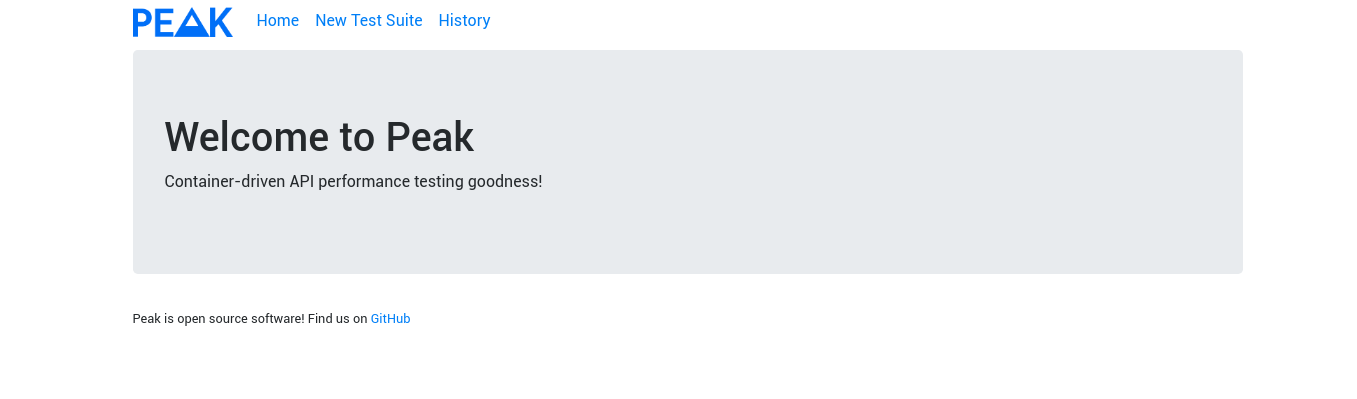
You’ll see a few different ports listed here, each allocated to a specific route. Our Flask app is running on port 8000, so select the HTTP route listed next to port 8000. Here’s the deployed Flask application:
Making changes
Looks like we’re all set! Let’s make a small change, run our new build command, and preview the changes in the CodeReady Workspace.
Open the ‘peakweb > templates > base.html’ file, and modify the footer section here to read ‘Peak is open source software!’:
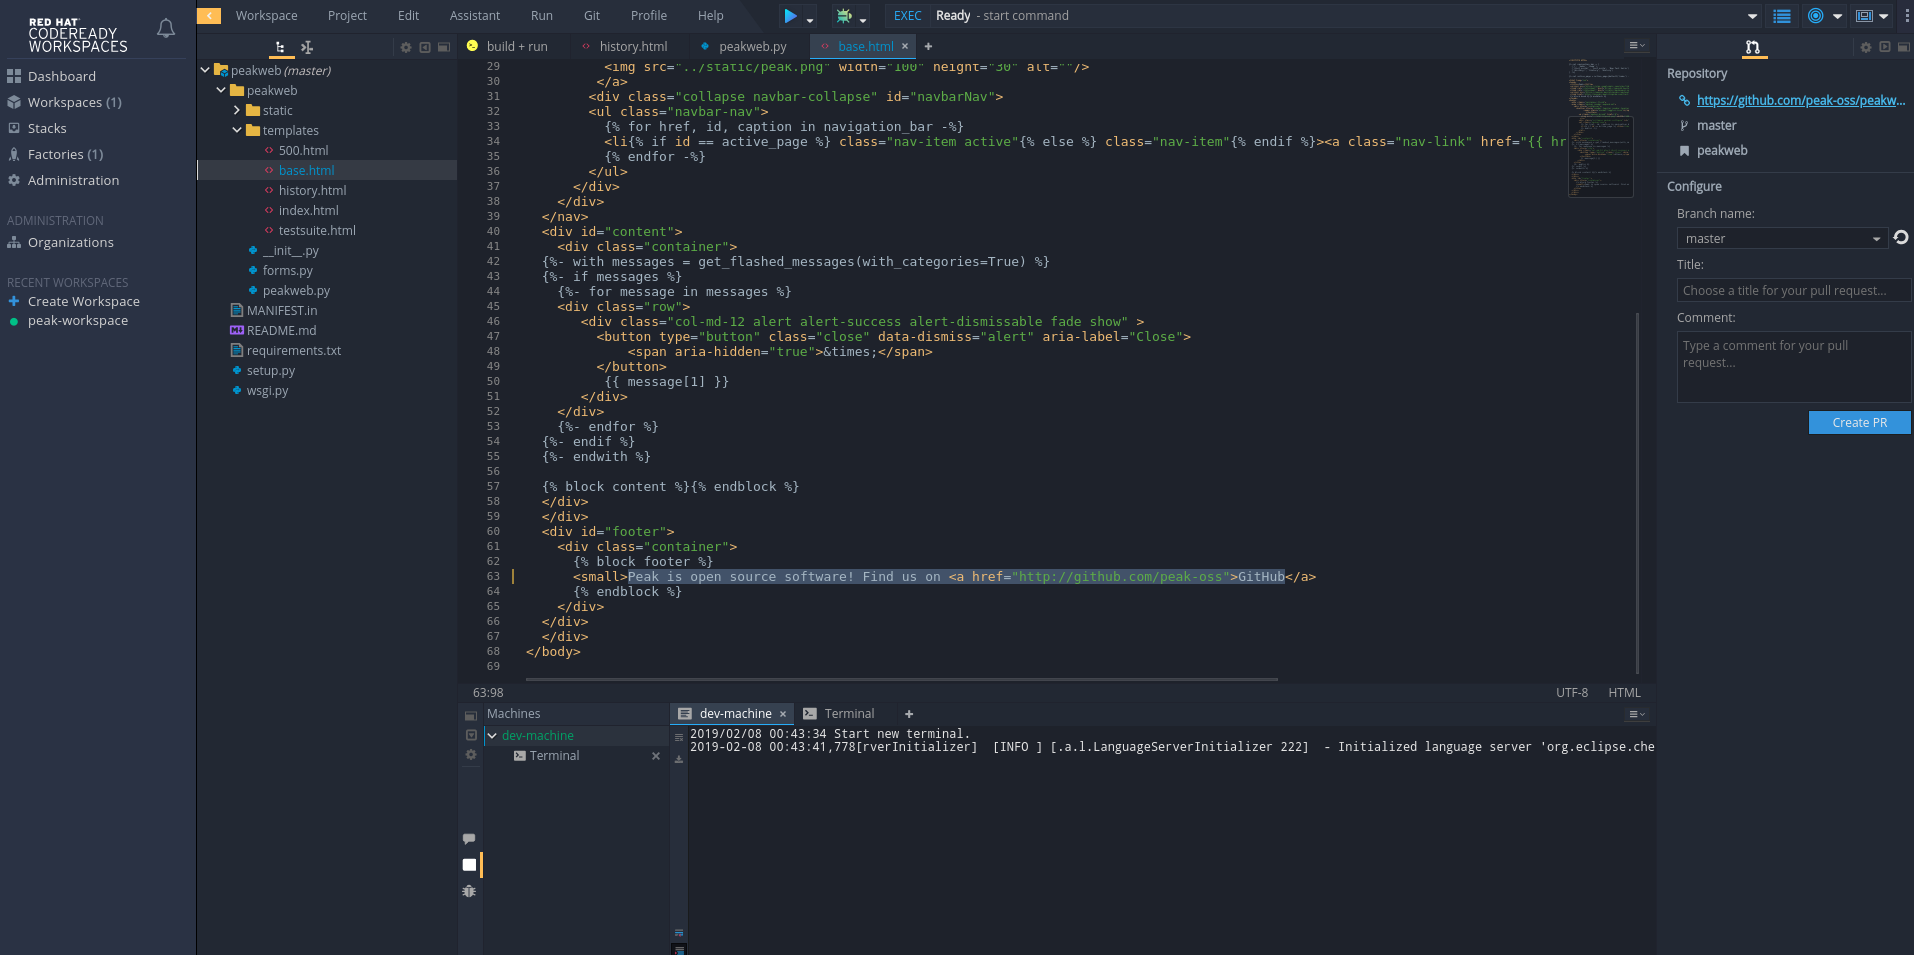
Run your shiny new run command again, open the preview from the ‘Servers’ menu, and verify the changes have been made. Note you will need to stop the previous run command to free up the socket:
Awesome! We now have a containerized development environment for our Flask application that’s hosted on OpenShift and we can access anytime. If you want to take this a step further, you can look at using a factory to create instances of our now-configured workspace, making it easier to onboard new developers to the team. You can also find examples of how to use factories in Laurent Broudoux’s brilliant series on Red Hat JBoss Enterprise Application Platform development with CodeReady Workspaces.
Additional resources
- Streamline your JBoss EAP dev environment with Red Hat CodeReady Workspaces: Part 1 and Part 2
- CodeReady Workspaces for OpenShift (Beta) – It works on their machines too
- Eclipse Che 7 is Coming and It’s Really Hot
- Extending Eclipse Che 7 to use VS Code extensions
- Create a scalable REST API with Falcon and RHSCL

The post Creating a containerized Python/Flask development environment with Red Hat CodeReady Workspaces appeared first on RHD Blog.
from Planet Python
via read more


ReplyDeleteGreat Article
Final Year Projects in Python
Python Training in Chennai
FInal Year Project Centers in Chennai
Python Training in Chennai