One of the coolest code editors available to programmers, Visual Studio Code, is an open-source, extensible, light-weight editor available on all platforms. It’s these qualities that make Visual Studio Code from Microsoft very popular, and a great platform for Python development.
In this article, you’ll learn about Python development in Visual Studio Code, including how to:
- Install Visual Studio Code
- Discover and install extensions that make Python development easy
- Write a simple Python application
- Learn how to run and debug existing Python programs in VS Code
- Connect Visual Studio Code to Git and GitHub to share your code with the world
We assume you are familiar with Python development and already have some form of Python installed on your system (Python 2.7, Python 3.6/3.7, Anaconda, or others). Screenshots and demos for Ubuntu and Windows are provided. Because Visual Studio Code runs on all major platforms, you may see slightly different UI elements and may need to modify certain commands.
Free Bonus: 5 Thoughts On Python Mastery, a free course for Python developers that shows you the roadmap and the mindset you'll need to take your Python skills to the next level.
Installing and Configuring Visual Studio Code for Python Development
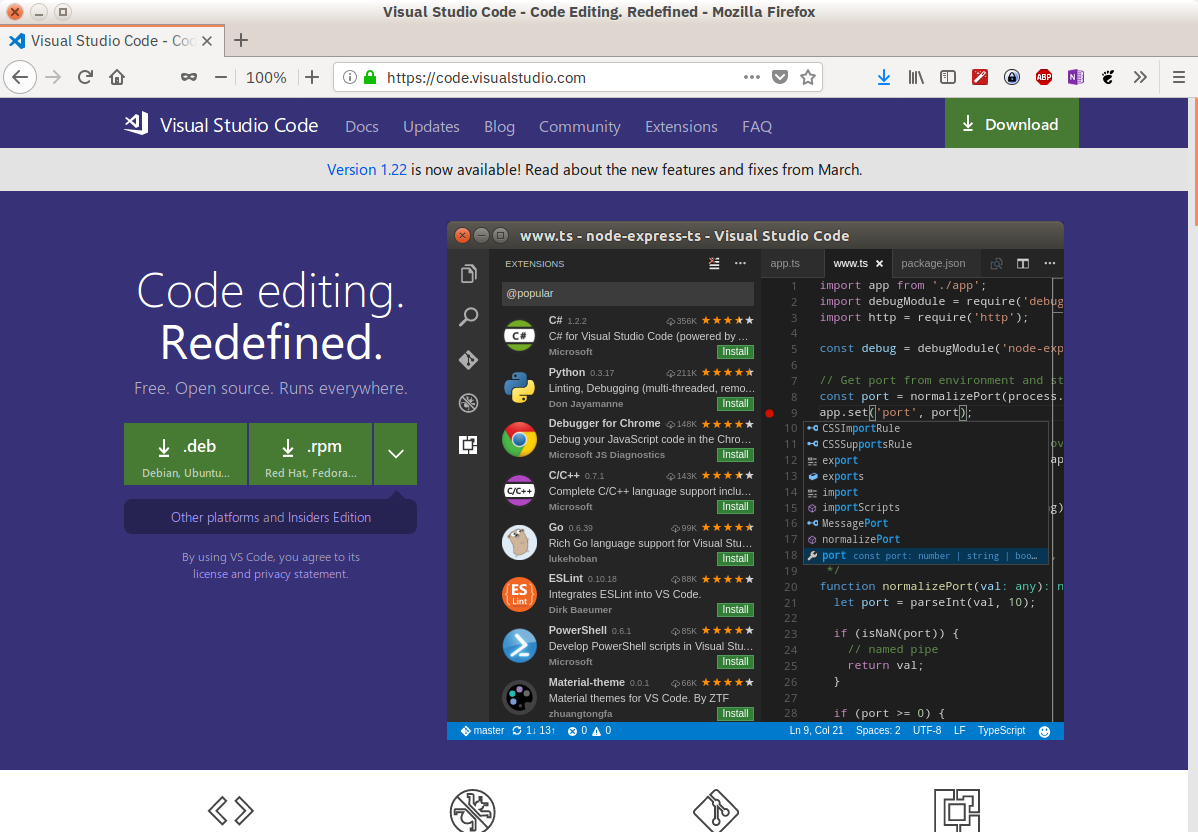
Installing Visual Studio Code is very accessible on any platform. Full instructions for Windows, Mac, and Linux are available, and the editor is updated monthly with new features and bug fixes. You can find everything at the Visual Studio Code website:
In case you were wondering, Visual Studio Code (or VS Code for short) shares almost nothing other than a name with its larger Windows-based namesake, Visual Studio.
Visual Studio Code has built-in support for multiple languages and an extension model with a rich ecosystem of support for others. VS Code is updated monthly, and you can keep up to date at the Microsoft Python blog. Microsoft even makes the VS Code GitHub repo available for anyone to clone and contribute. (Cue the PR flood.)
The VS Code UI is well documented, so I won’t rehash it here:
Extensions for Python Development
As stated above, VS Code supports development in multiple programming languages through a well-documented extension model. The Python extension enables Python development in Visual Studio Code, with the following features:
- Support for Python 3.4 and higher, as well as Python 2.7
- Code completion with IntelliSense
- Linting
- Debugging support
- Code snippets
- Unit testing support
- Automatic use of conda and virtual environments
- Code editing in Jupyter environments and Jupyter Notebooks
Visual Studio Code extensions cover more than just programming language capabilities:
-
Keymaps allow users already familiar with Atom, Sublime Text, Emacs, Vim, PyCharm, or other environments to feel at home.
-
Themes customize the UI whether you like coding in the light, dark, or something more colorful.
-
Language packs provide a localized experience.
Here are some other extensions and settings I find useful:
-
GitLens provides tons of useful Git features directly in your editing window, including blame annotations and repository exploration features.
-
Auto save is easily turned on by selecting
File, Auto Savefrom the menu. The default delay time is 1000 milliseconds, which is also configurable. -
Settings Sync allows you to synchronize your VS Code settings across different installations using GitHub. If you work on different machines, this helps keep your environment consistent across them.
-
Docker lets you quickly and easily work with Docker, helping author
Dockerfileanddocker-compose.yml, package and deploy your projects, and even generate the proper Docker files for your project.
Of course, you may discover other useful extensions as you use VS Code. Please share your discoveries and settings in the comments!
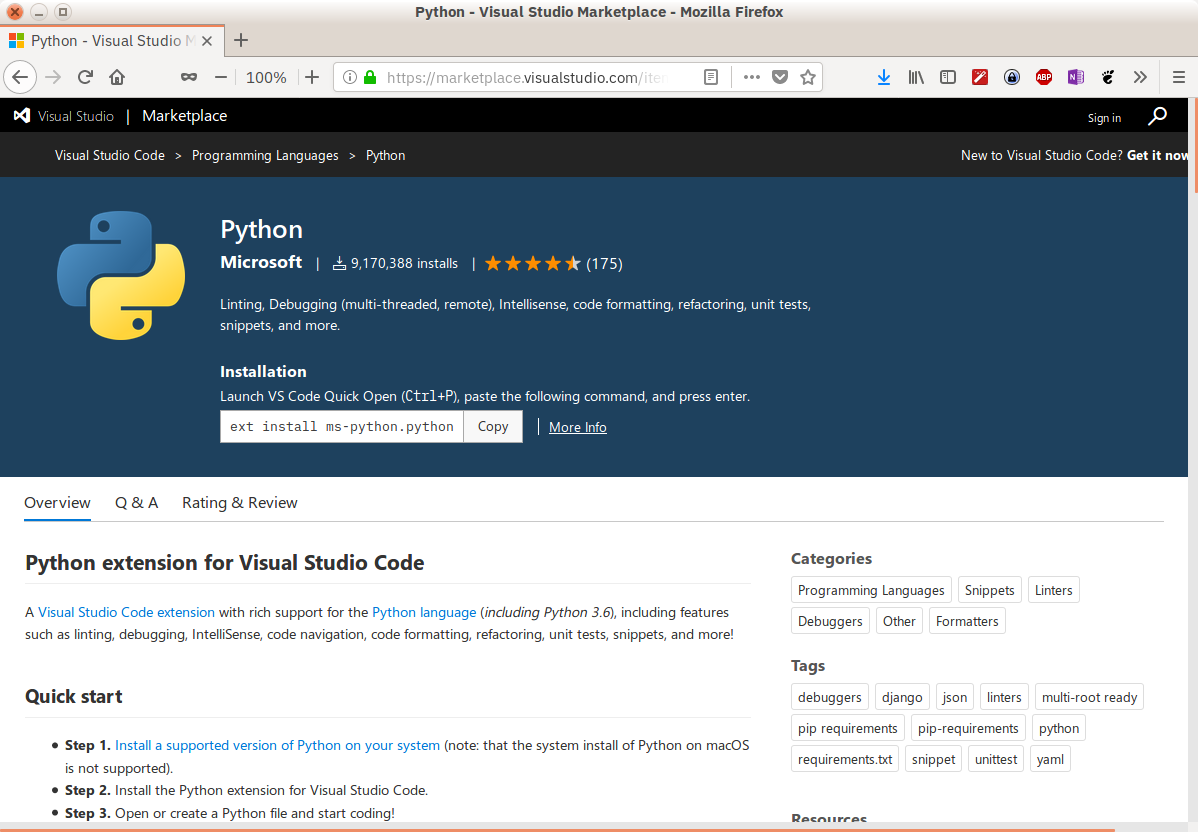
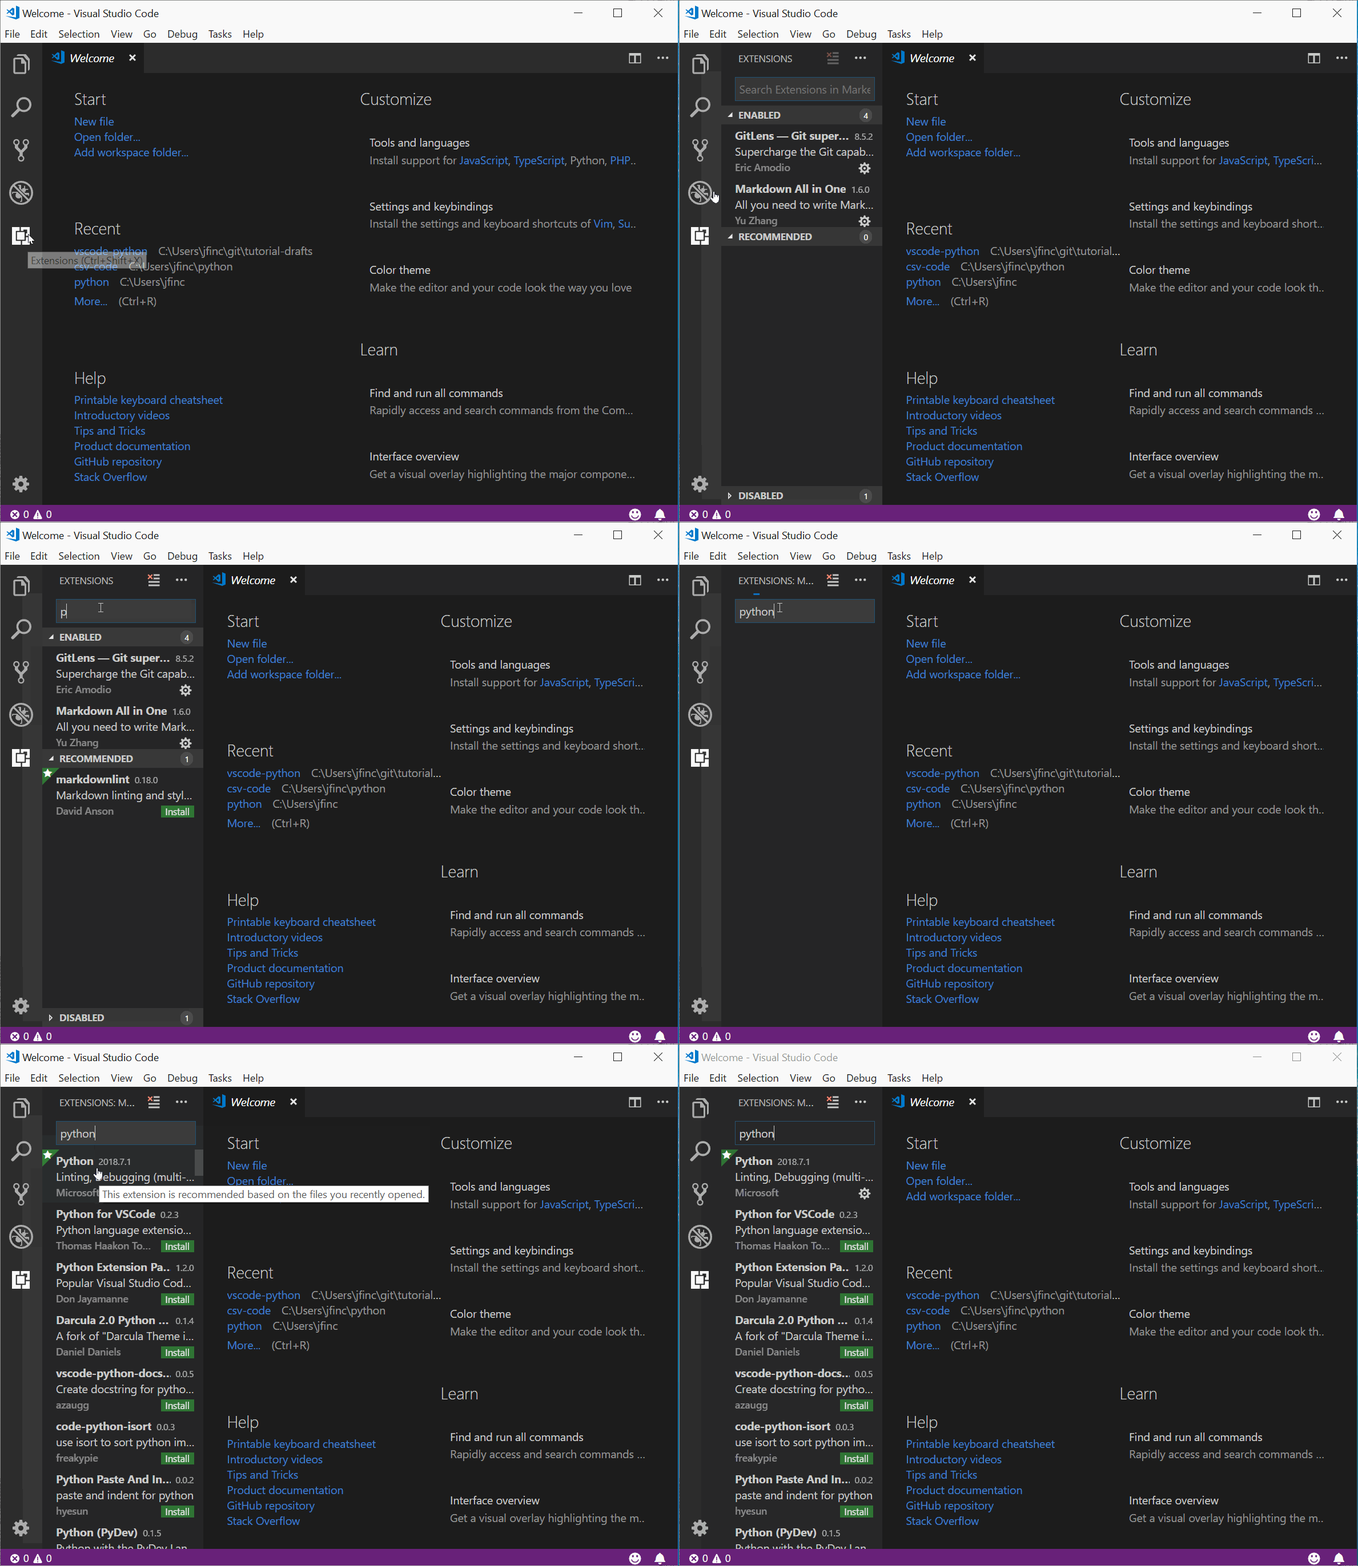
Discovering and installing new extensions and themes is accessible by clicking on the Extensions icon on the Activity Bar. You can search for extensions using keywords, sort the results numerous ways, and install extensions quickly and easily. For this article, install the Python extension by typing python in the Extensions item on the Activity Bar, and clicking Install:
You can find and install any of the extensions mentioned above in the same manner.
Visual Studio Code Configuration Files
One important thing to mention is that Visual Studio Code is highly configurable through user and workspace settings.
User settings are global across all Visual Studio Code instances, while workspace settings are local to the specific folder or project workspace. Workspace settings give VS Code tons of flexibility, and I call out workspace settings throughout this article. Workspace settings are stored as .json files in a folder local to the project workspace called .vscode.
Start a New Python Program
Let’s start our exploration of Python development in Visual Studio Code with a new Python program. In VS Code, type Ctrl+N to open a new File. (You can also select File, New from the menu.)
Note: The Visual Studio Code UI provides the Command Palette, from which you can search and execute any command without leaving the keyboard. Open the Command Palette using Ctrl+Shift+P, type File: New File, and hit Enter to open a new file.
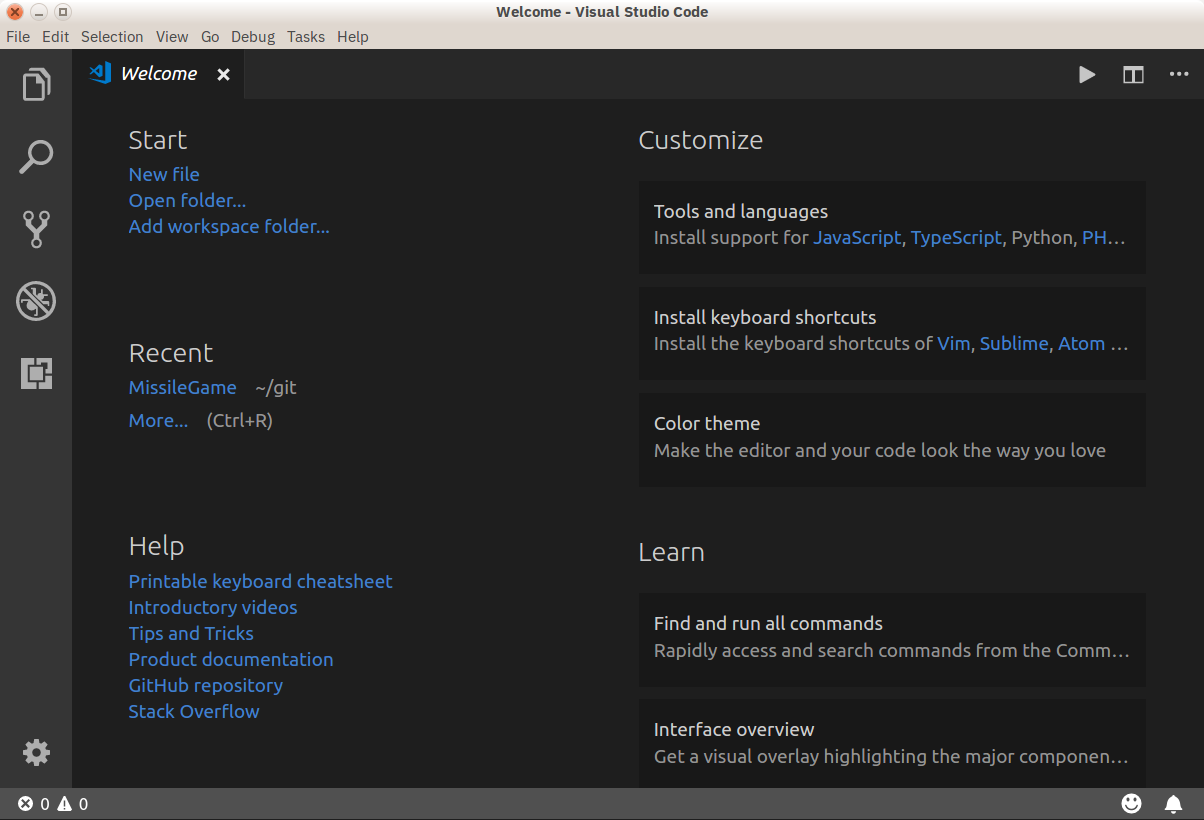
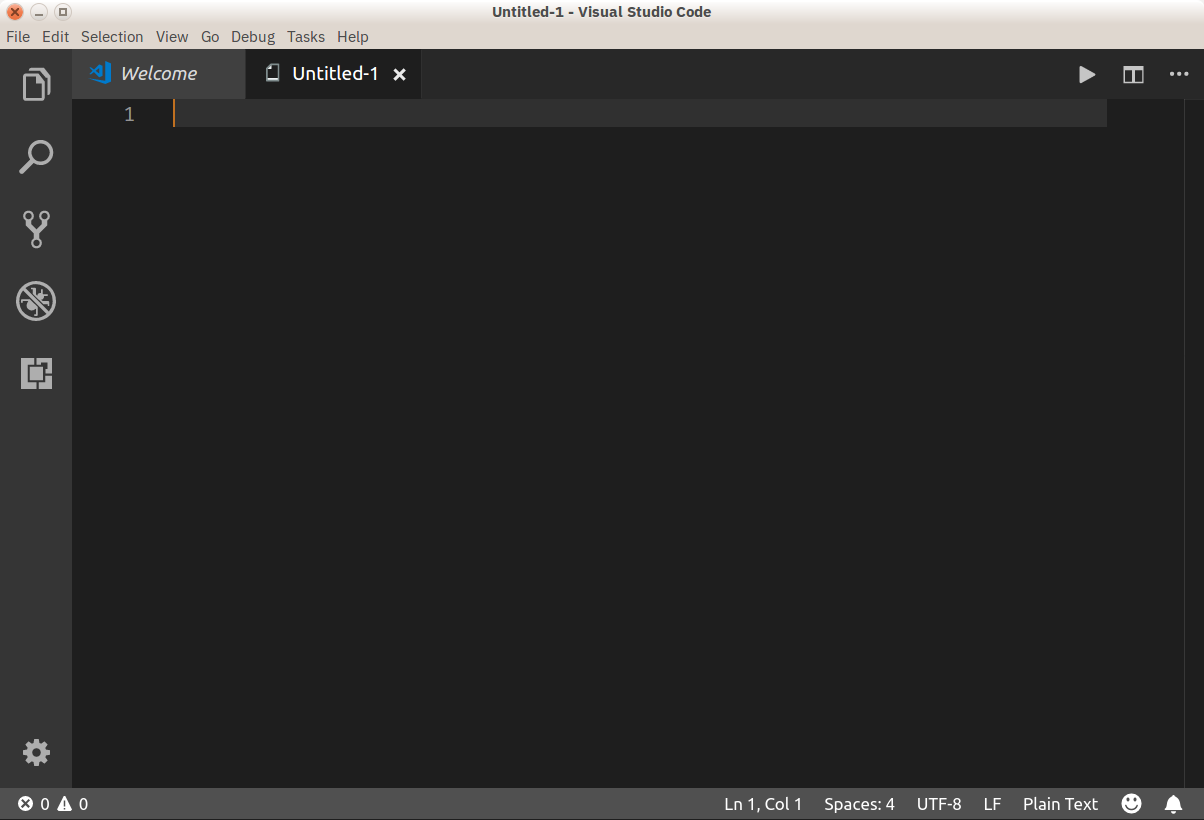
No matter how you get there, you should see a VS Code window that looks similar to the following:
Once a new file is opened, you can being entering code.
Entering Python Code
For our test code, let’s quickly code up the Sieve of Eratosthenes (which finds all primes less than a given number). Begin typing the following code in the new tab you just opened:
sieve = [True] * 101
for i in range(2, 100):
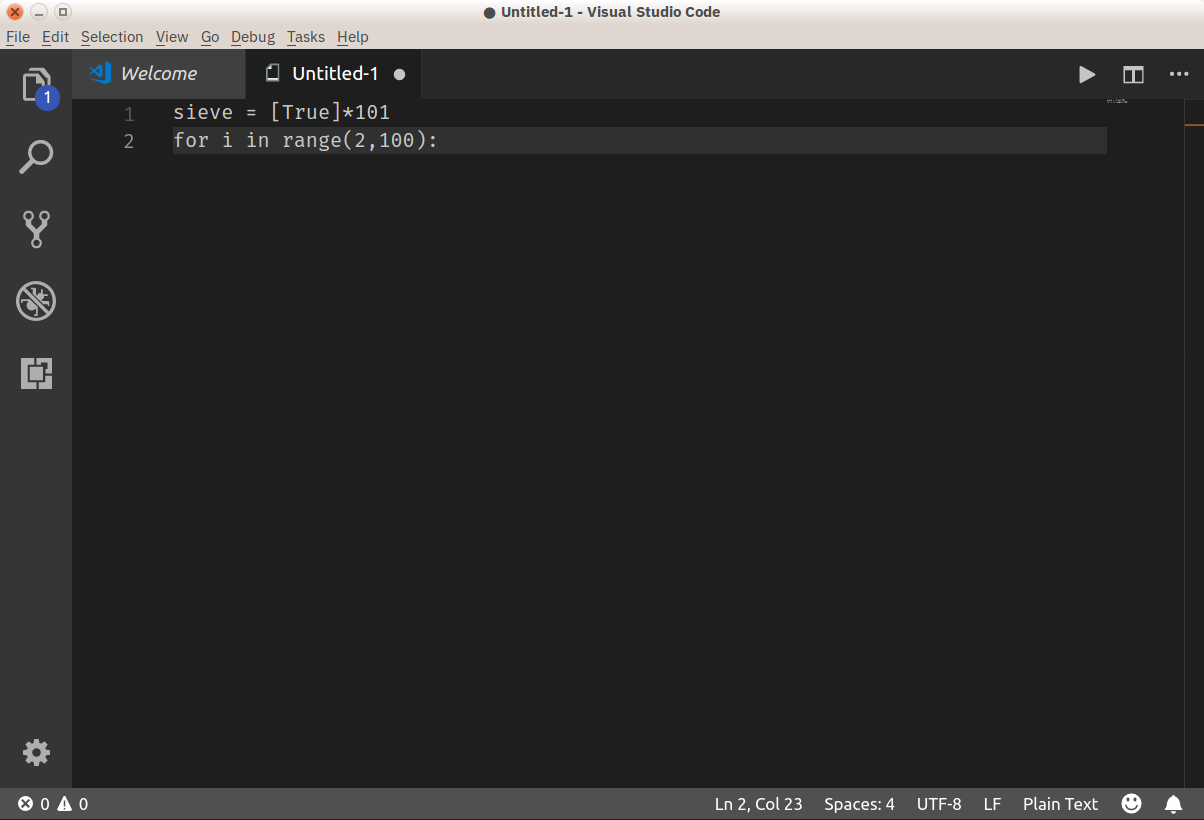
You should see something similar to this:
Wait, what’s going on? Why isn’t Visual Studio Code doing any keyword highlighting, any auto-formatting, or anything really helpful? What gives?
The answer is that, right now, VS Code doesn’t know what kind of file it’s dealing with. The buffer is called Untitled-1, and if you look in the lower right corner of the window, you’ll see the words Plain Text.
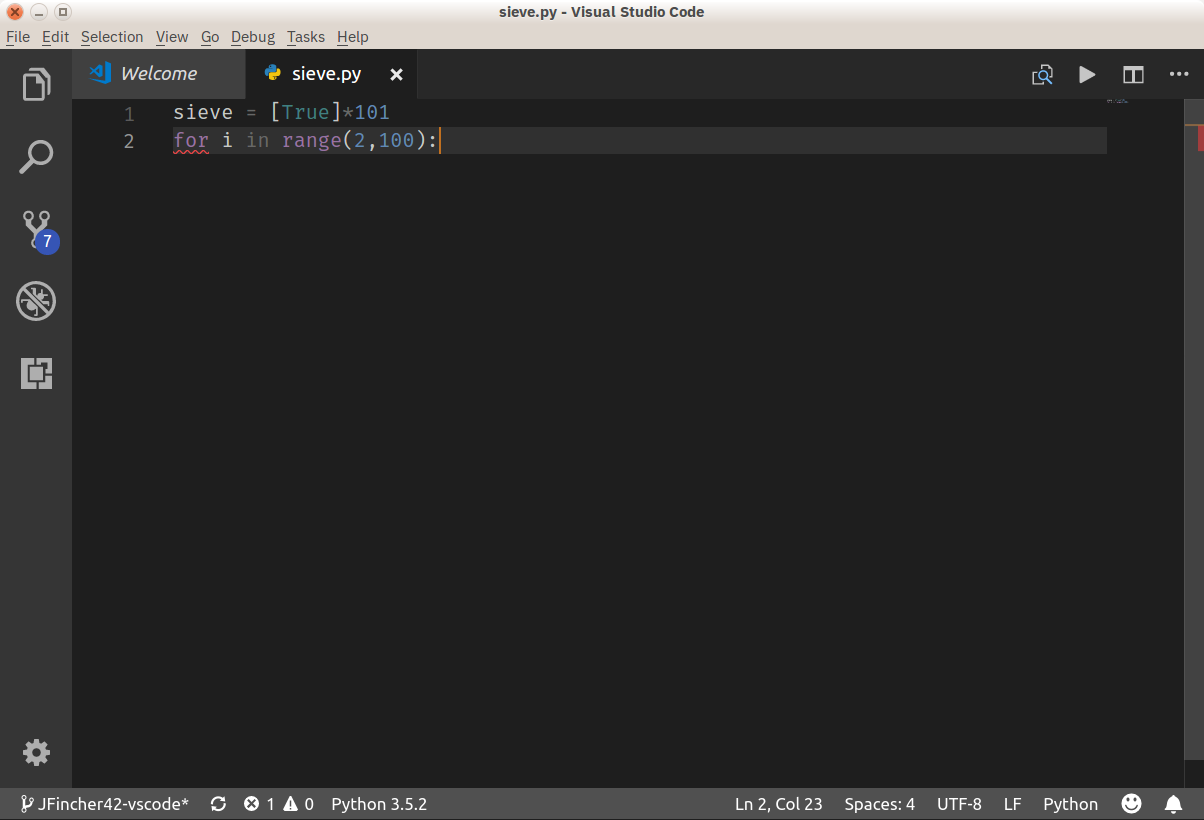
To activate the Python extension, save the file (by selecting File, Save from the menu, File:Save File from the Command Palette, or just using Ctrl+S) as sieve.py. VS Code will see the .py extension and correctly interpret the file as Python code. Now your window should look like this:
That’s much better! VS Code automatically reformats the file as Python, which you can verify by inspecting the language mode in the lower left corner.
If you have multiple Python installations (like Python 2.7, Python 3.x, or Anaconda), you can change which Python interpreter VS Code uses by clicking the language mode indicator, or selecting Python: Select Interpreter from the Command Palette. VS Code supports formatting using pep8 by default, but you can select black or yapf if you wish.
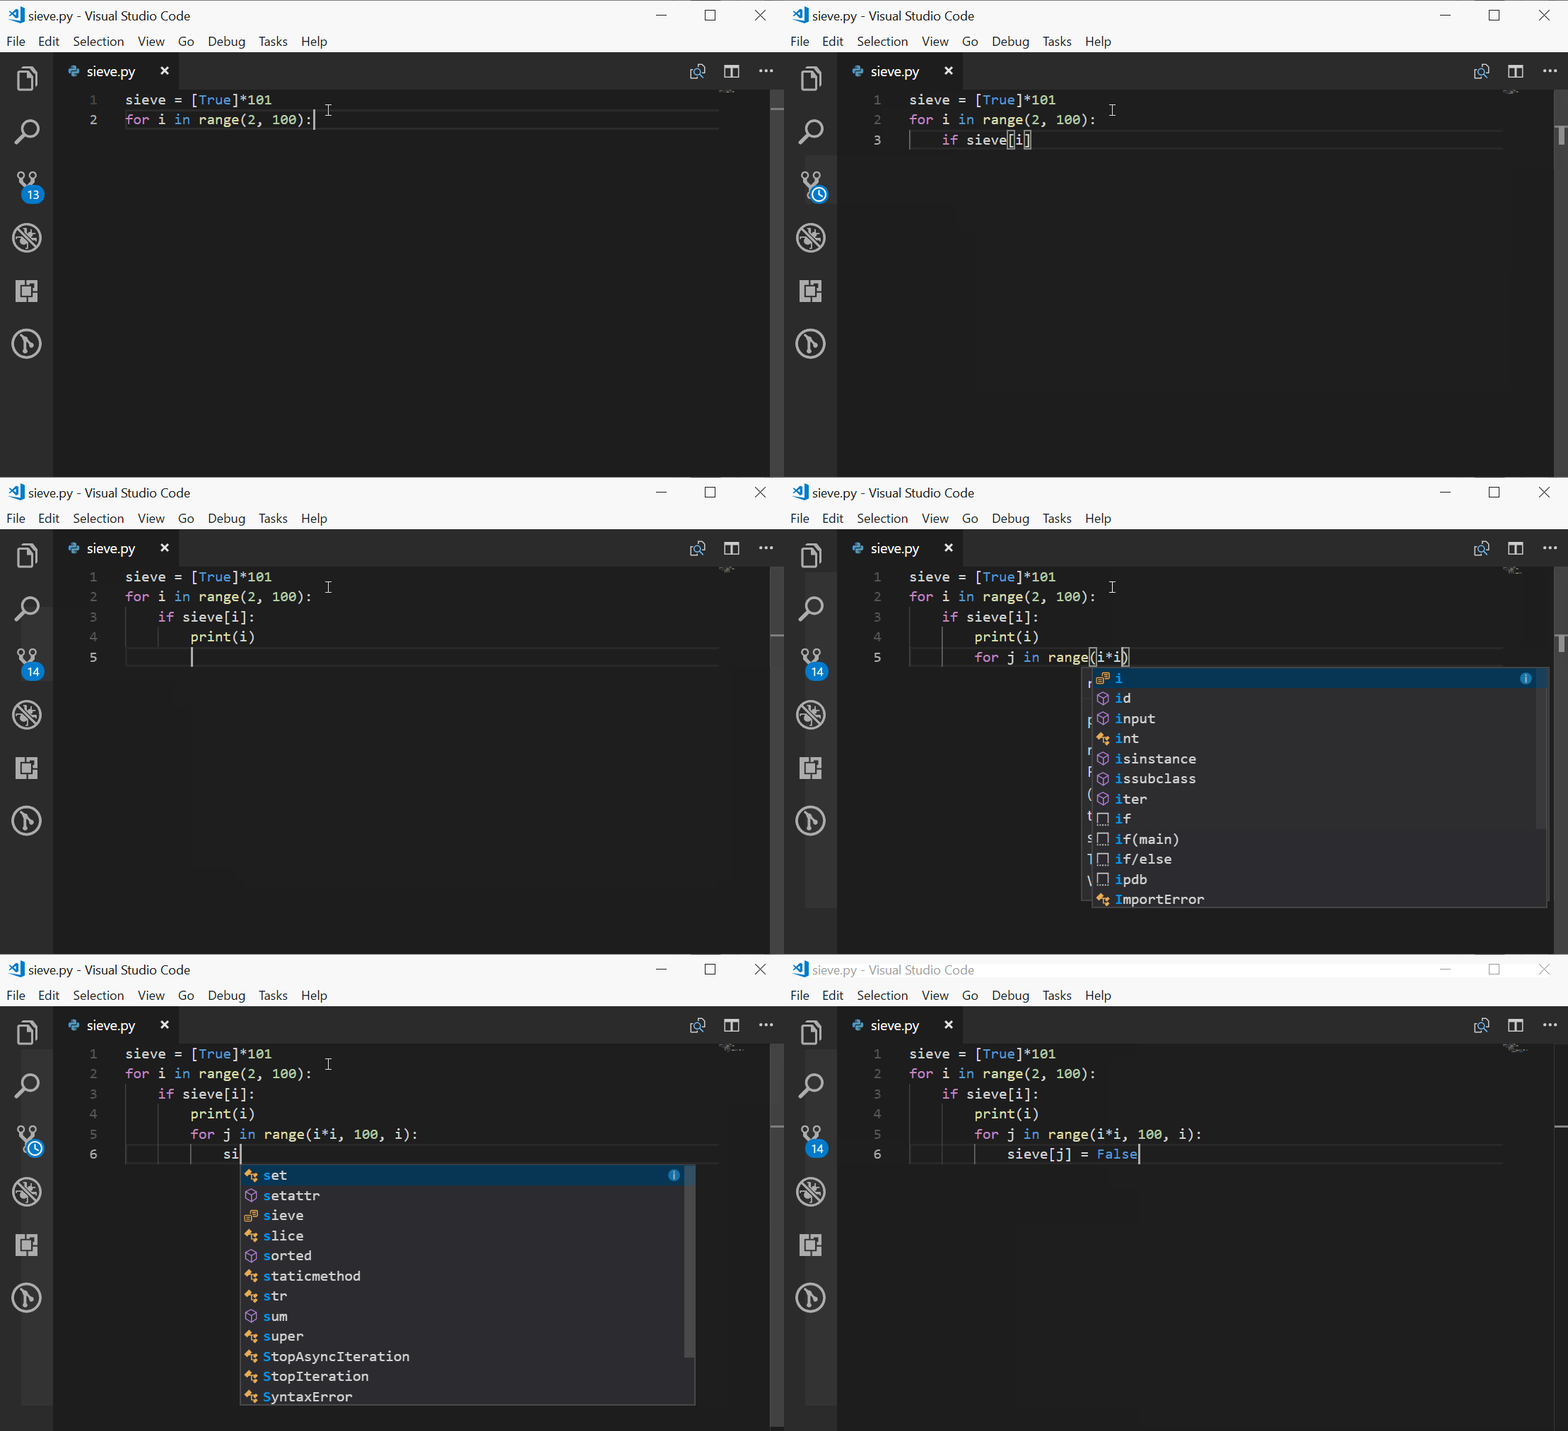
Let’s add the rest of the Sieve code now. To see IntelliSense at work, type this code directly rather than cut and paste, and you should see something like this:
Here’s the full code for a basic Sieve of Eratosthenes:
sieve = [True] * 101
for i in range(2, 100):
    if sieve[i]:
        print(i)
        for j in range(i*i, 100, i):
            sieve[j] = False
As you type this code, VS Code automatically indents the lines under for and if statements for you properly, adds closing parentheses, and makes suggestions for you. That’s the power of IntelliSense working for you.
Running Python Code
Now that the code is complete, you can run it. There is no need to leave the editor to do this: Visual Studio Code can run this program directly in the editor. Save the file (using Ctrl+S), then right-click in the editor window and select Run Python File in Terminal:
You should see the Terminal pane appear at the bottom of the window, with your code output showing.
Python Linting Support
You may have seen a pop up appear while you were typing, stating that linting was not available. You can quickly install linting support from that pop up, which defaults to PyLint. VS Code also supports other linters. Here’s the complete list at the time of this writing:
pylintflake8mypypydocstylepep8prospectorpyllamabandit
The Python linting page has complete details on how to setup each linter.
Note: The choice of linter is a project workspace setting, and not a global user setting.
Editing an Existing Python Project
In the Sieve of Eratosthenes example, you created a single Python file. That’s great as an example, but many times, you’ll create larger projects and work on them over a longer period of time. A typical new project work flow might look like this:
- Create a folder to hold the project (which may include a new GitHub project)
- Change to the new folder
- Create the initial Python code using the command
code filename.py
Using Visual Studio Code on a Python project (as opposed to a single Python file) opens up tons more functionality that lets VS Code truly shine. Let’s take a look at how it works with a larger project.
Late in the previous millennium, when I was a much younger programmer, I wrote a calculator program that parsed equations written in infix notation, using an adaptation of Edsger Dijkstra’s shunting yard algorithm.
To demonstrate the project-focused features of Visual Studio Code, I began recreating the shunting yard algorithm as an equation evaluation library in Python. To continue following along, feel free to clone the repo locally.
Once the folder is created locally, you can open the entire folder in VS Code quickly. My preferred method (as mentioned above) is modified as follows, since I already have the folder and basic files created:
cd /path/to/project
code .
VS Code understands, and will use, any virtualenv, pipenv, or conda environments it sees when opened this way. You don’t even need to start the virtual environment first! You can even open a folder from the UI, using File, Open Folder from the menu, Ctrl+K, Ctrl+O from the keyboard, or File:Open Folder from the Command Palette.
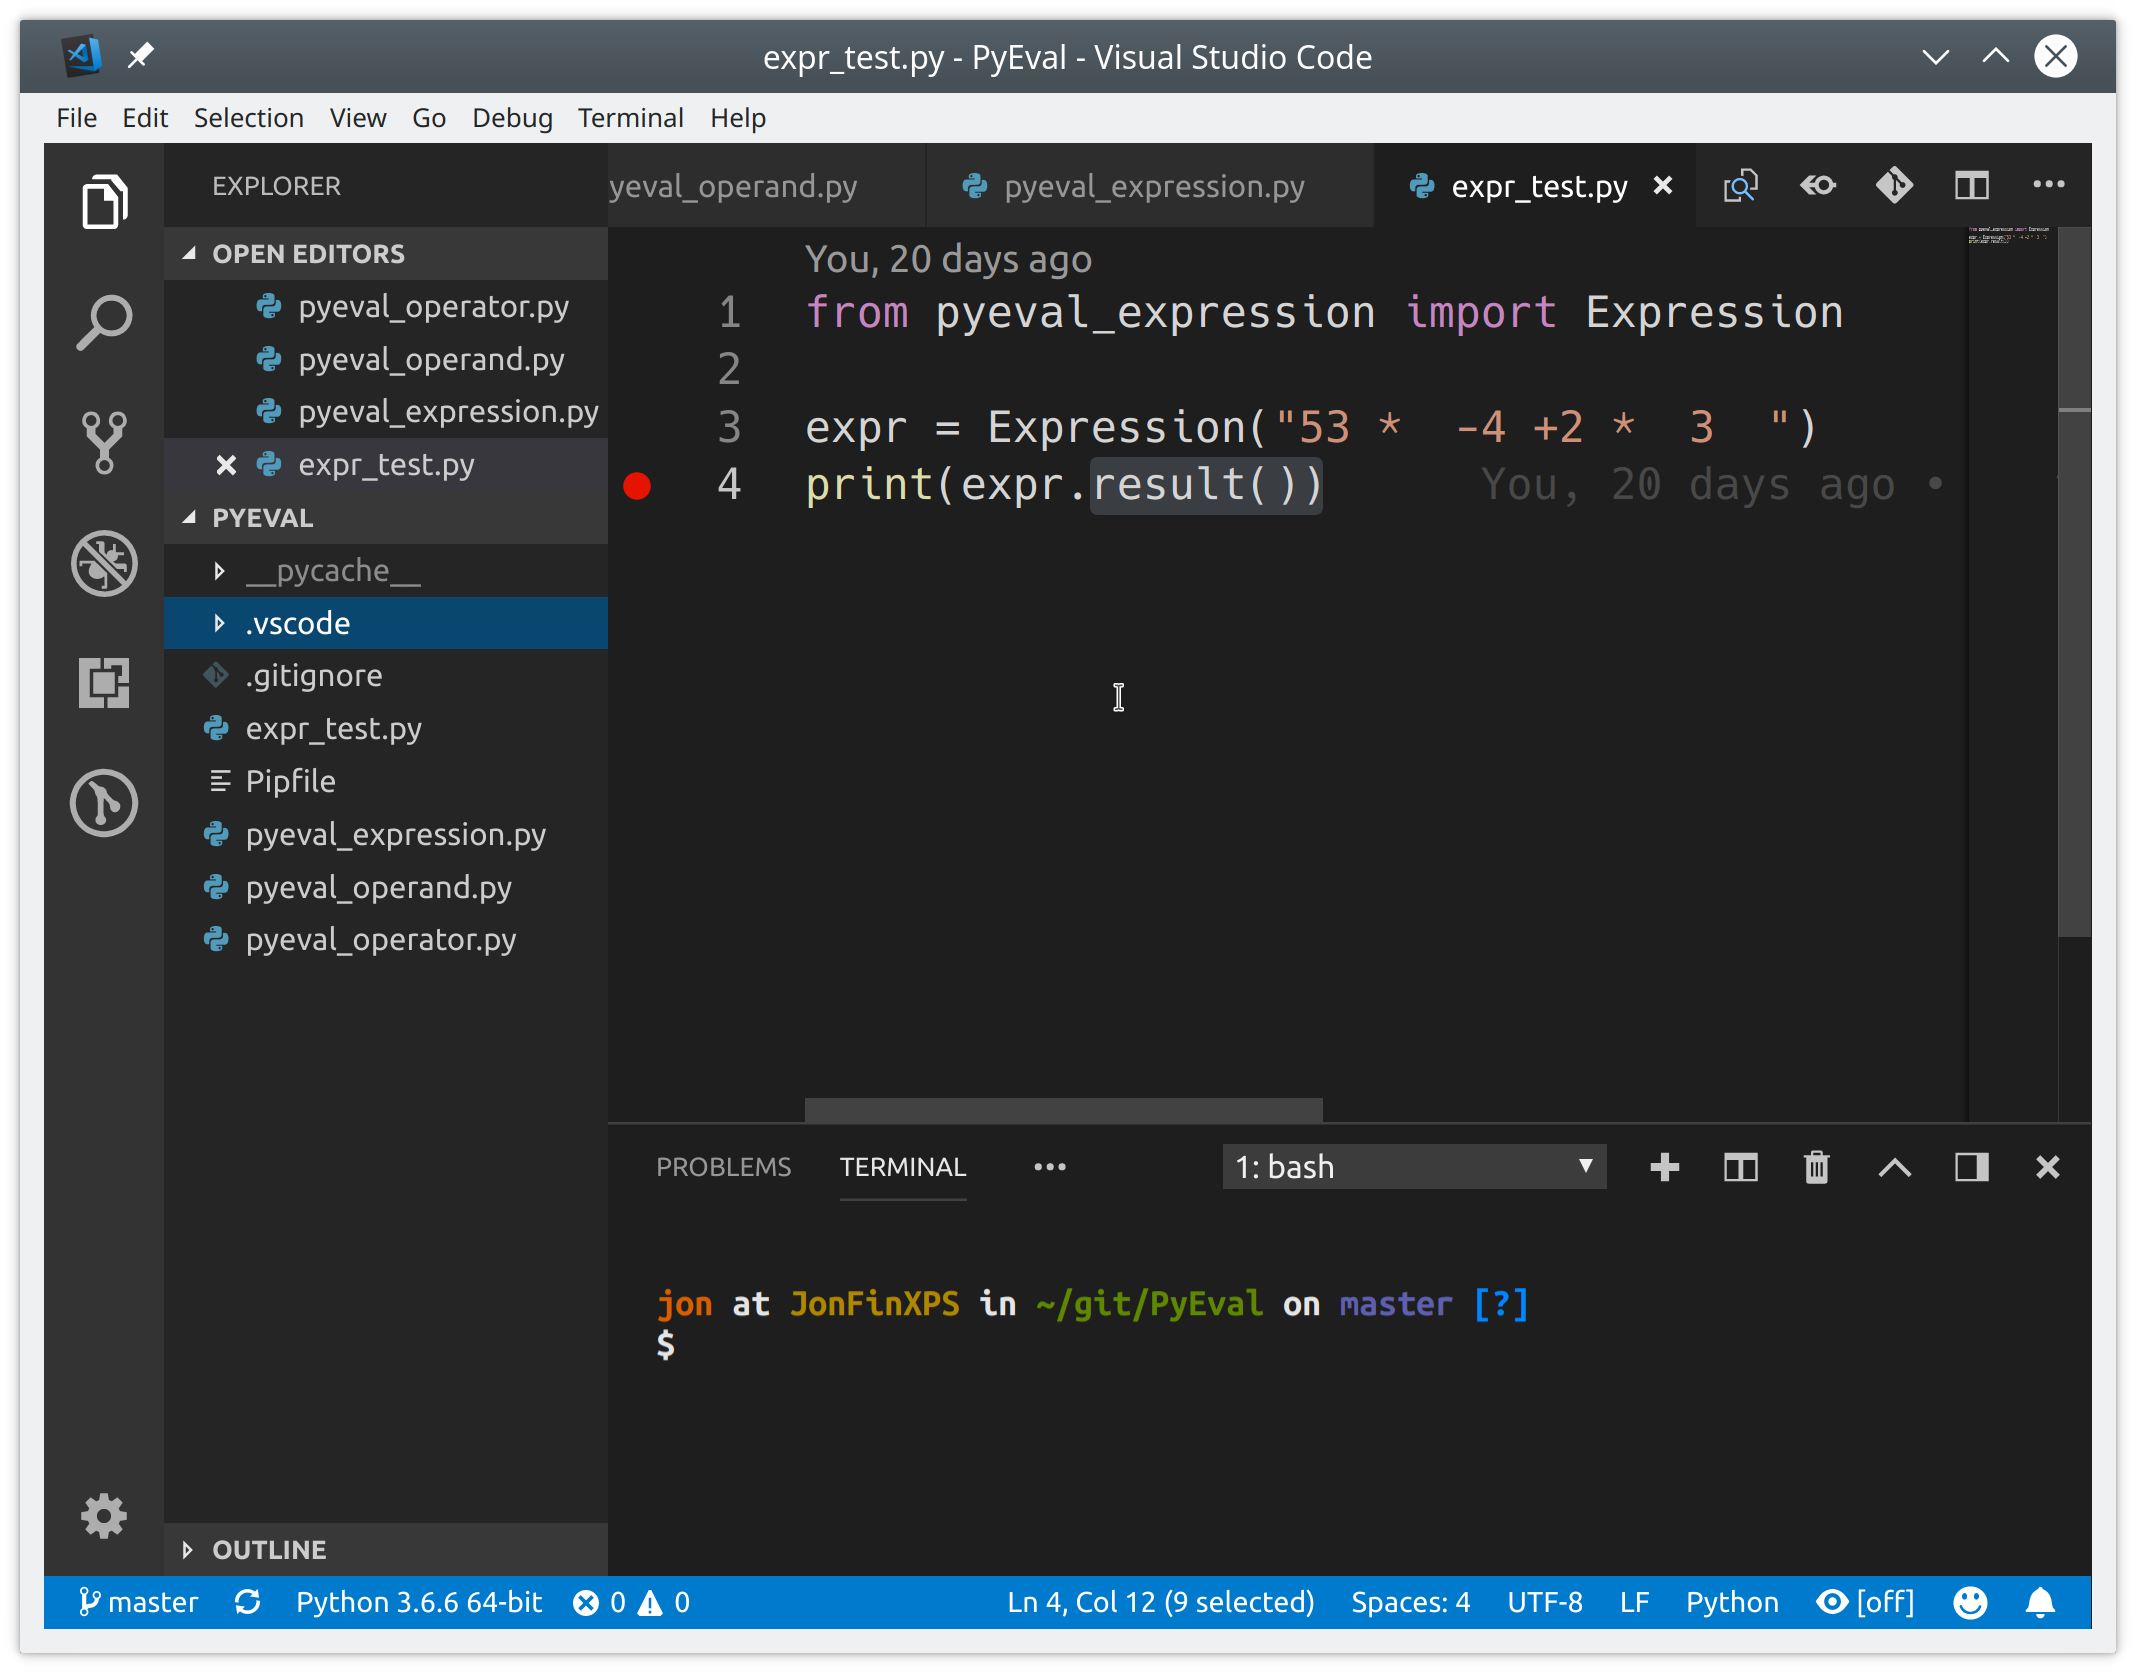
For my equation eval library project, here’s what I see:
When Visual Studio Code opens the folder, it also opens the files you last had opened. (This is configurable.) You can open, edit, run, and debug any file listed. The Explorer view in the Activity Bar on the left gives you a view of all the files in the folder and shows how many unsaved files exist in the current set of tabs.
Testing Support
VS Code can automatically recognize existing Python tests written in the unittest framework, or the pytest or Nose frameworks if those frameworks are installed in the current environment. I have a unit test written in unittest for the equation eval library, which you can use for this example.
To run your existing unit tests, from any Python file in the project, right-click and select Run Current Unit Test File. You’ll be prompted to specify the test framework, where in the project to search for tests, and the filename pattern your tests utilize.
All of these are saved as workspace settings in your local .vscode/settings.json file and can be modified there. For this equation project, you select unittest, the current folder, and the pattern *_test.py.
Once the test framework is set up and the tests have been discovered, you can run all your tests by clicking Run Tests on the Status Bar and selecting an option from the Command Palette:
You can even run individual tests by opening the test file in VS Code, clicking Run Tests on the Status Bar, and selecting the Run Unit Test Method… and the specific test to run. This makes it trivial to address individual test failures and re-run only failed tests, which is a huge time-saver! Test results are shown in the Output pane under Python Test Log.
Debugging Support
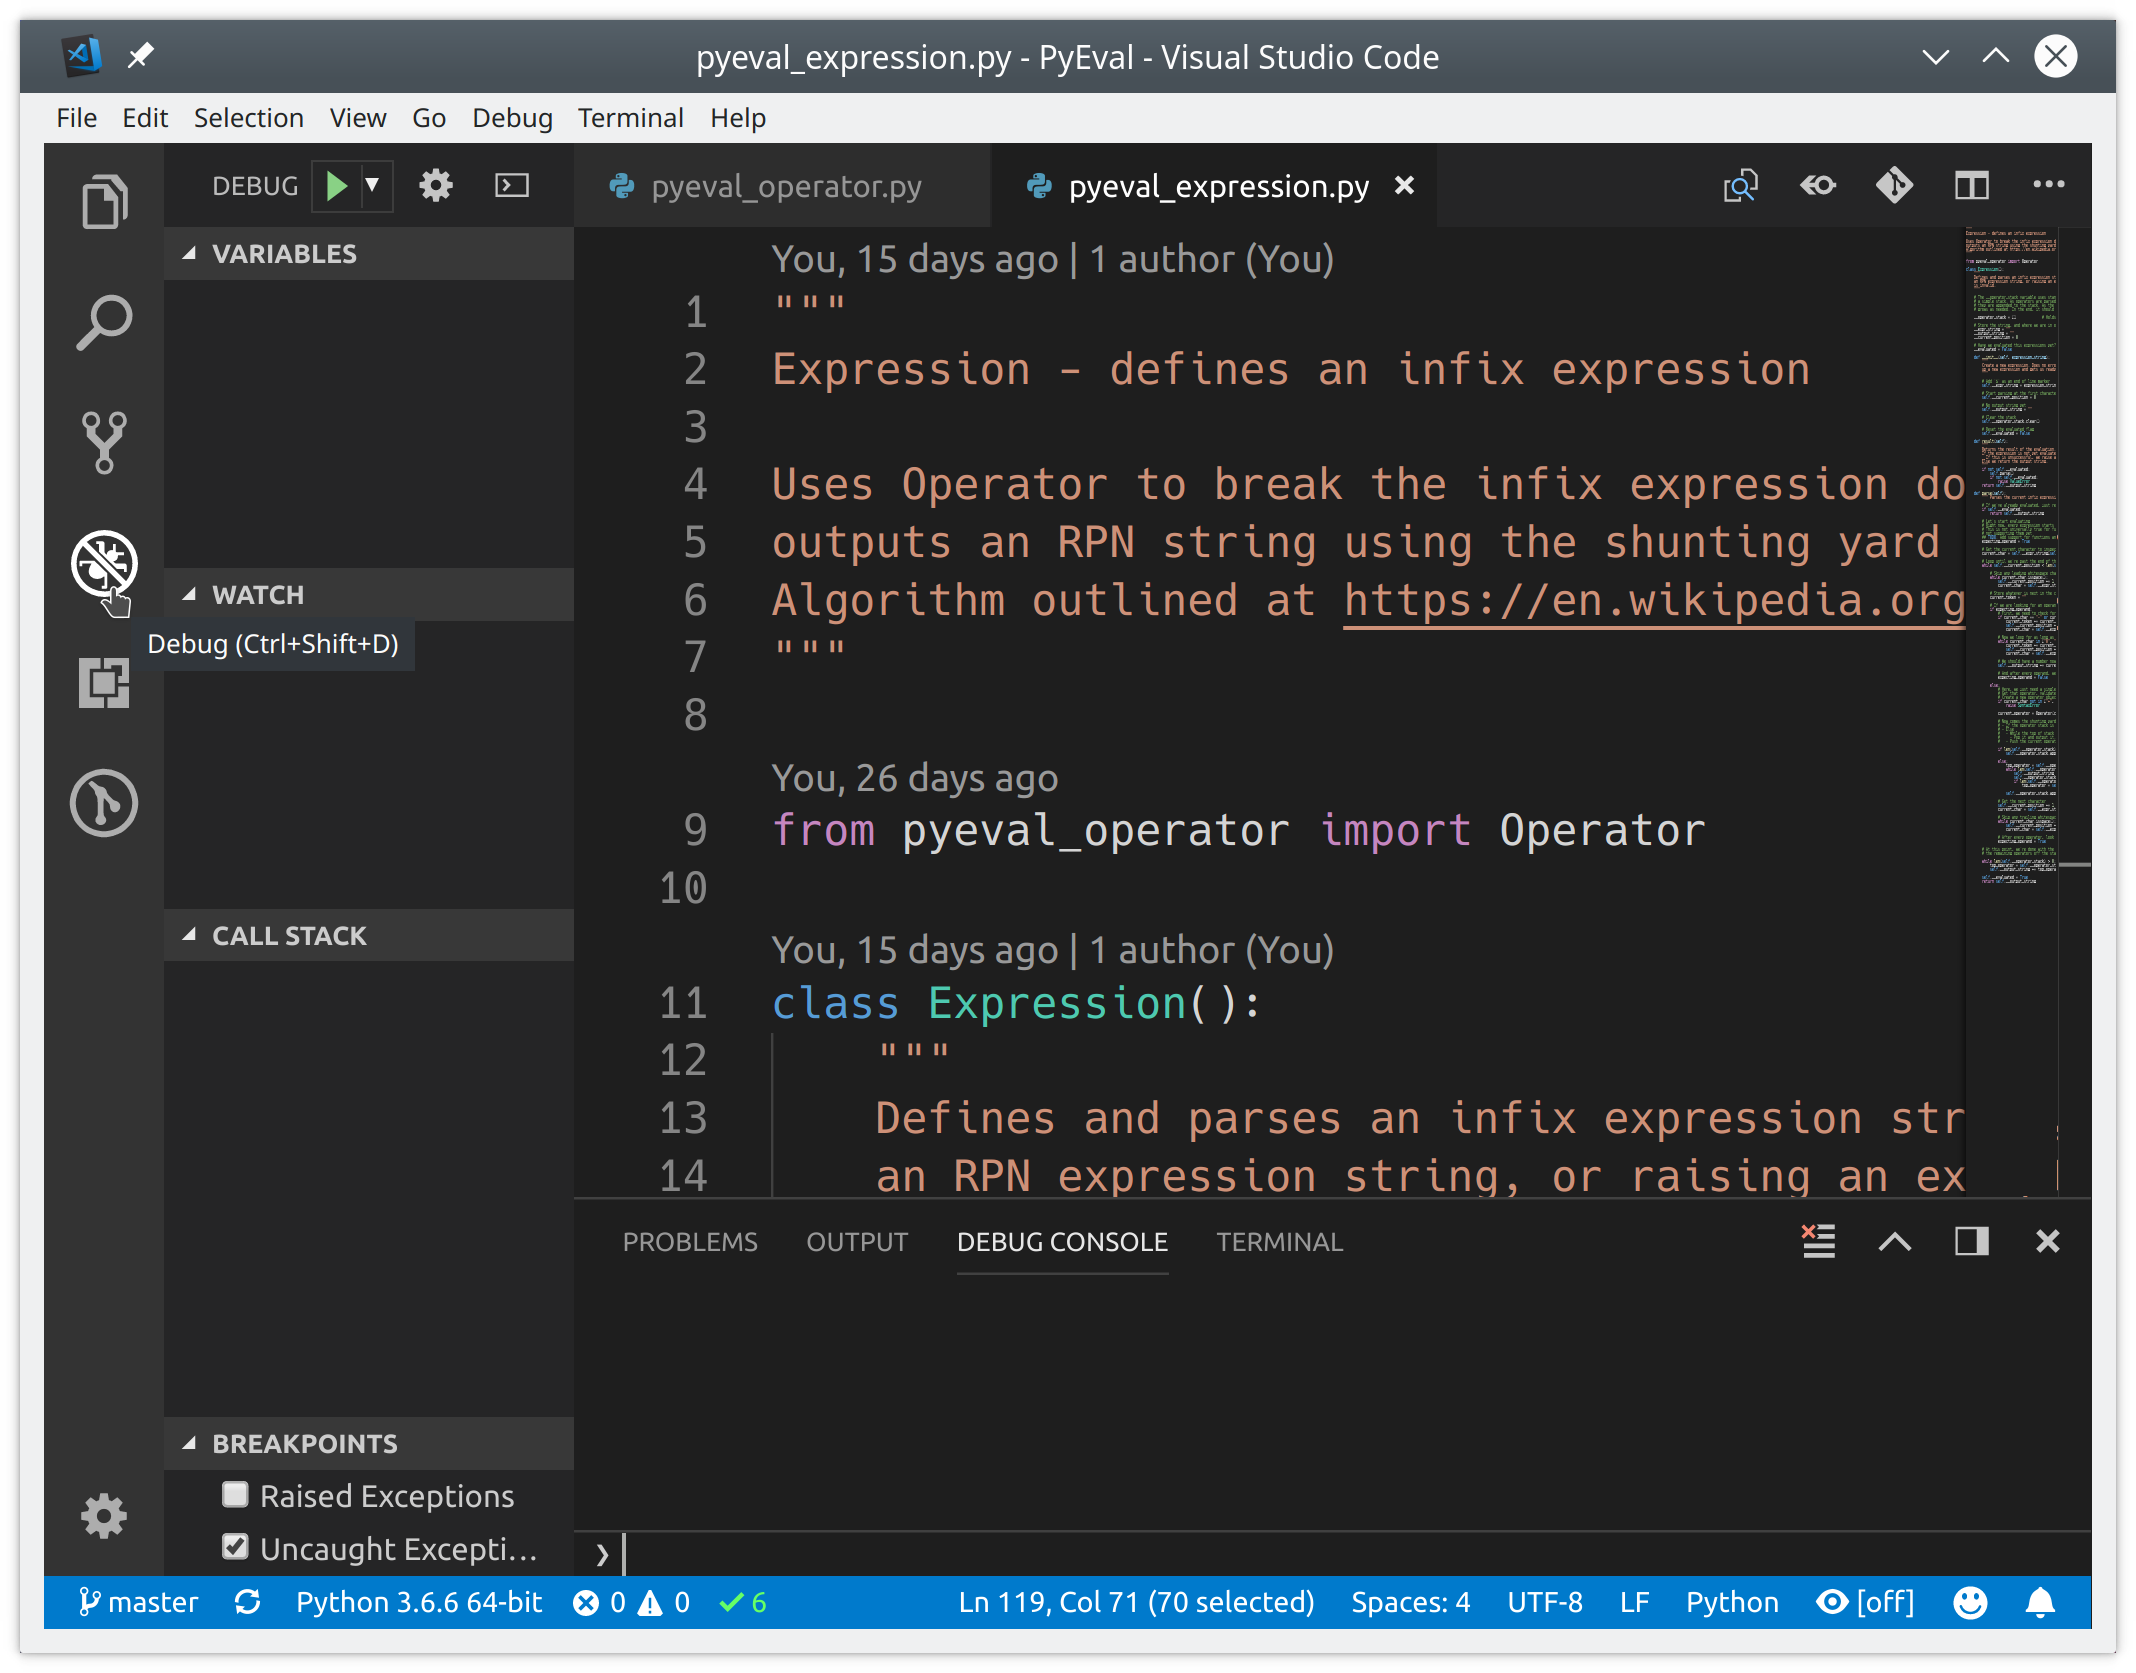
Even though VS Code is a code editor, debugging Python directly within VS Code is possible. VS Code offers many of the features you would expect from a good code debugger, including:
- Automatic variable tracking
- Watch expressions
- Breakpoints
- Call stack inspection
You can see them all as part of the Debug view on the Activity Bar:
The debugger can control Python apps running in the built-in terminal or an external terminal instance. It can attach to an already running Python instances, and can even debug Django and Flask apps.
Debugging code in a single Python file is as simple as starting the debugger using F5. You use F10 and F11 to step over and into functions respectively, and Shift+F5 to exit the debugger. Breakpoints are set using F9, or using the mouse by clicking in the left margin in the editor window.
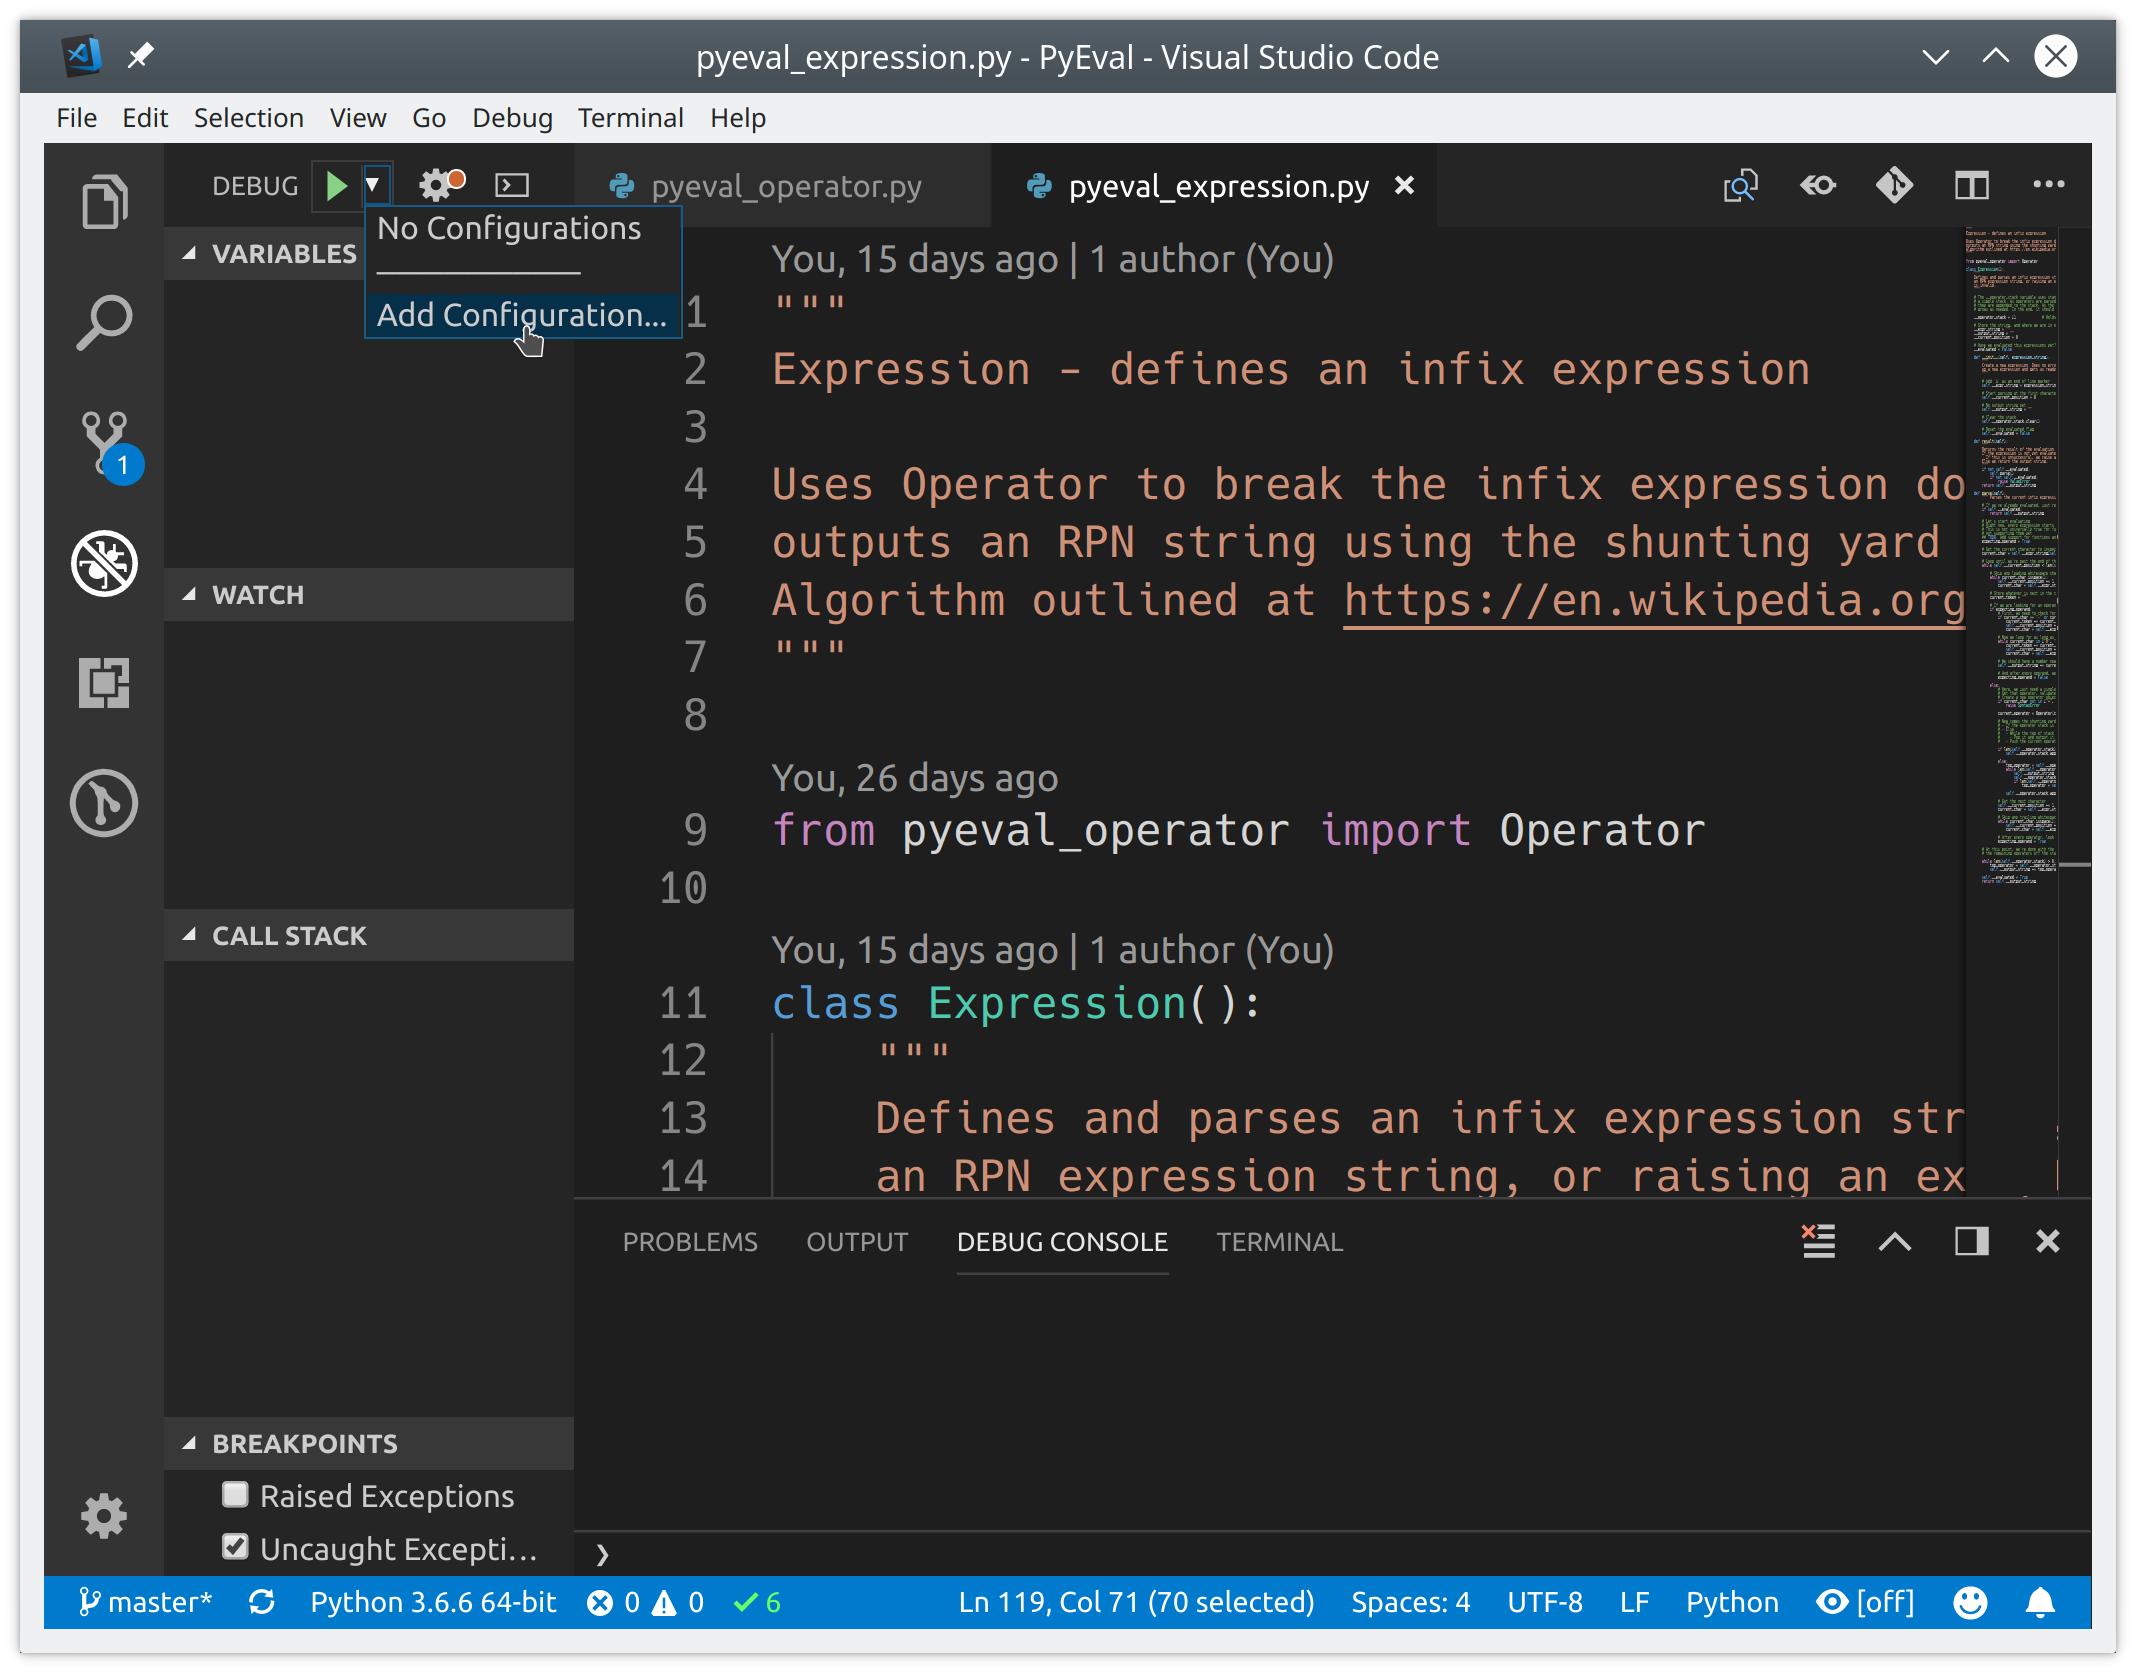
Before you start debugging more complicated projects, including Django or Flask applications, you need to setup and then select a debug configuration. Setting up the debug configuration is relatively straightforward. From the Debug view, select the Configuration drop-down, then Add Configuration, and select Python:
Visual Studio Code will create a debug configuration file under the current folder called .vscode/launch.json, which allows you to setup specific Python configurations as well as settings for debugging specific apps, like Django and Flask.
You can even perform remote debugging, and debug Jinja and Django templates. Close the launch.json file in the editor and select the proper configuration for your application from the Configuration drop-down.
Git Integration
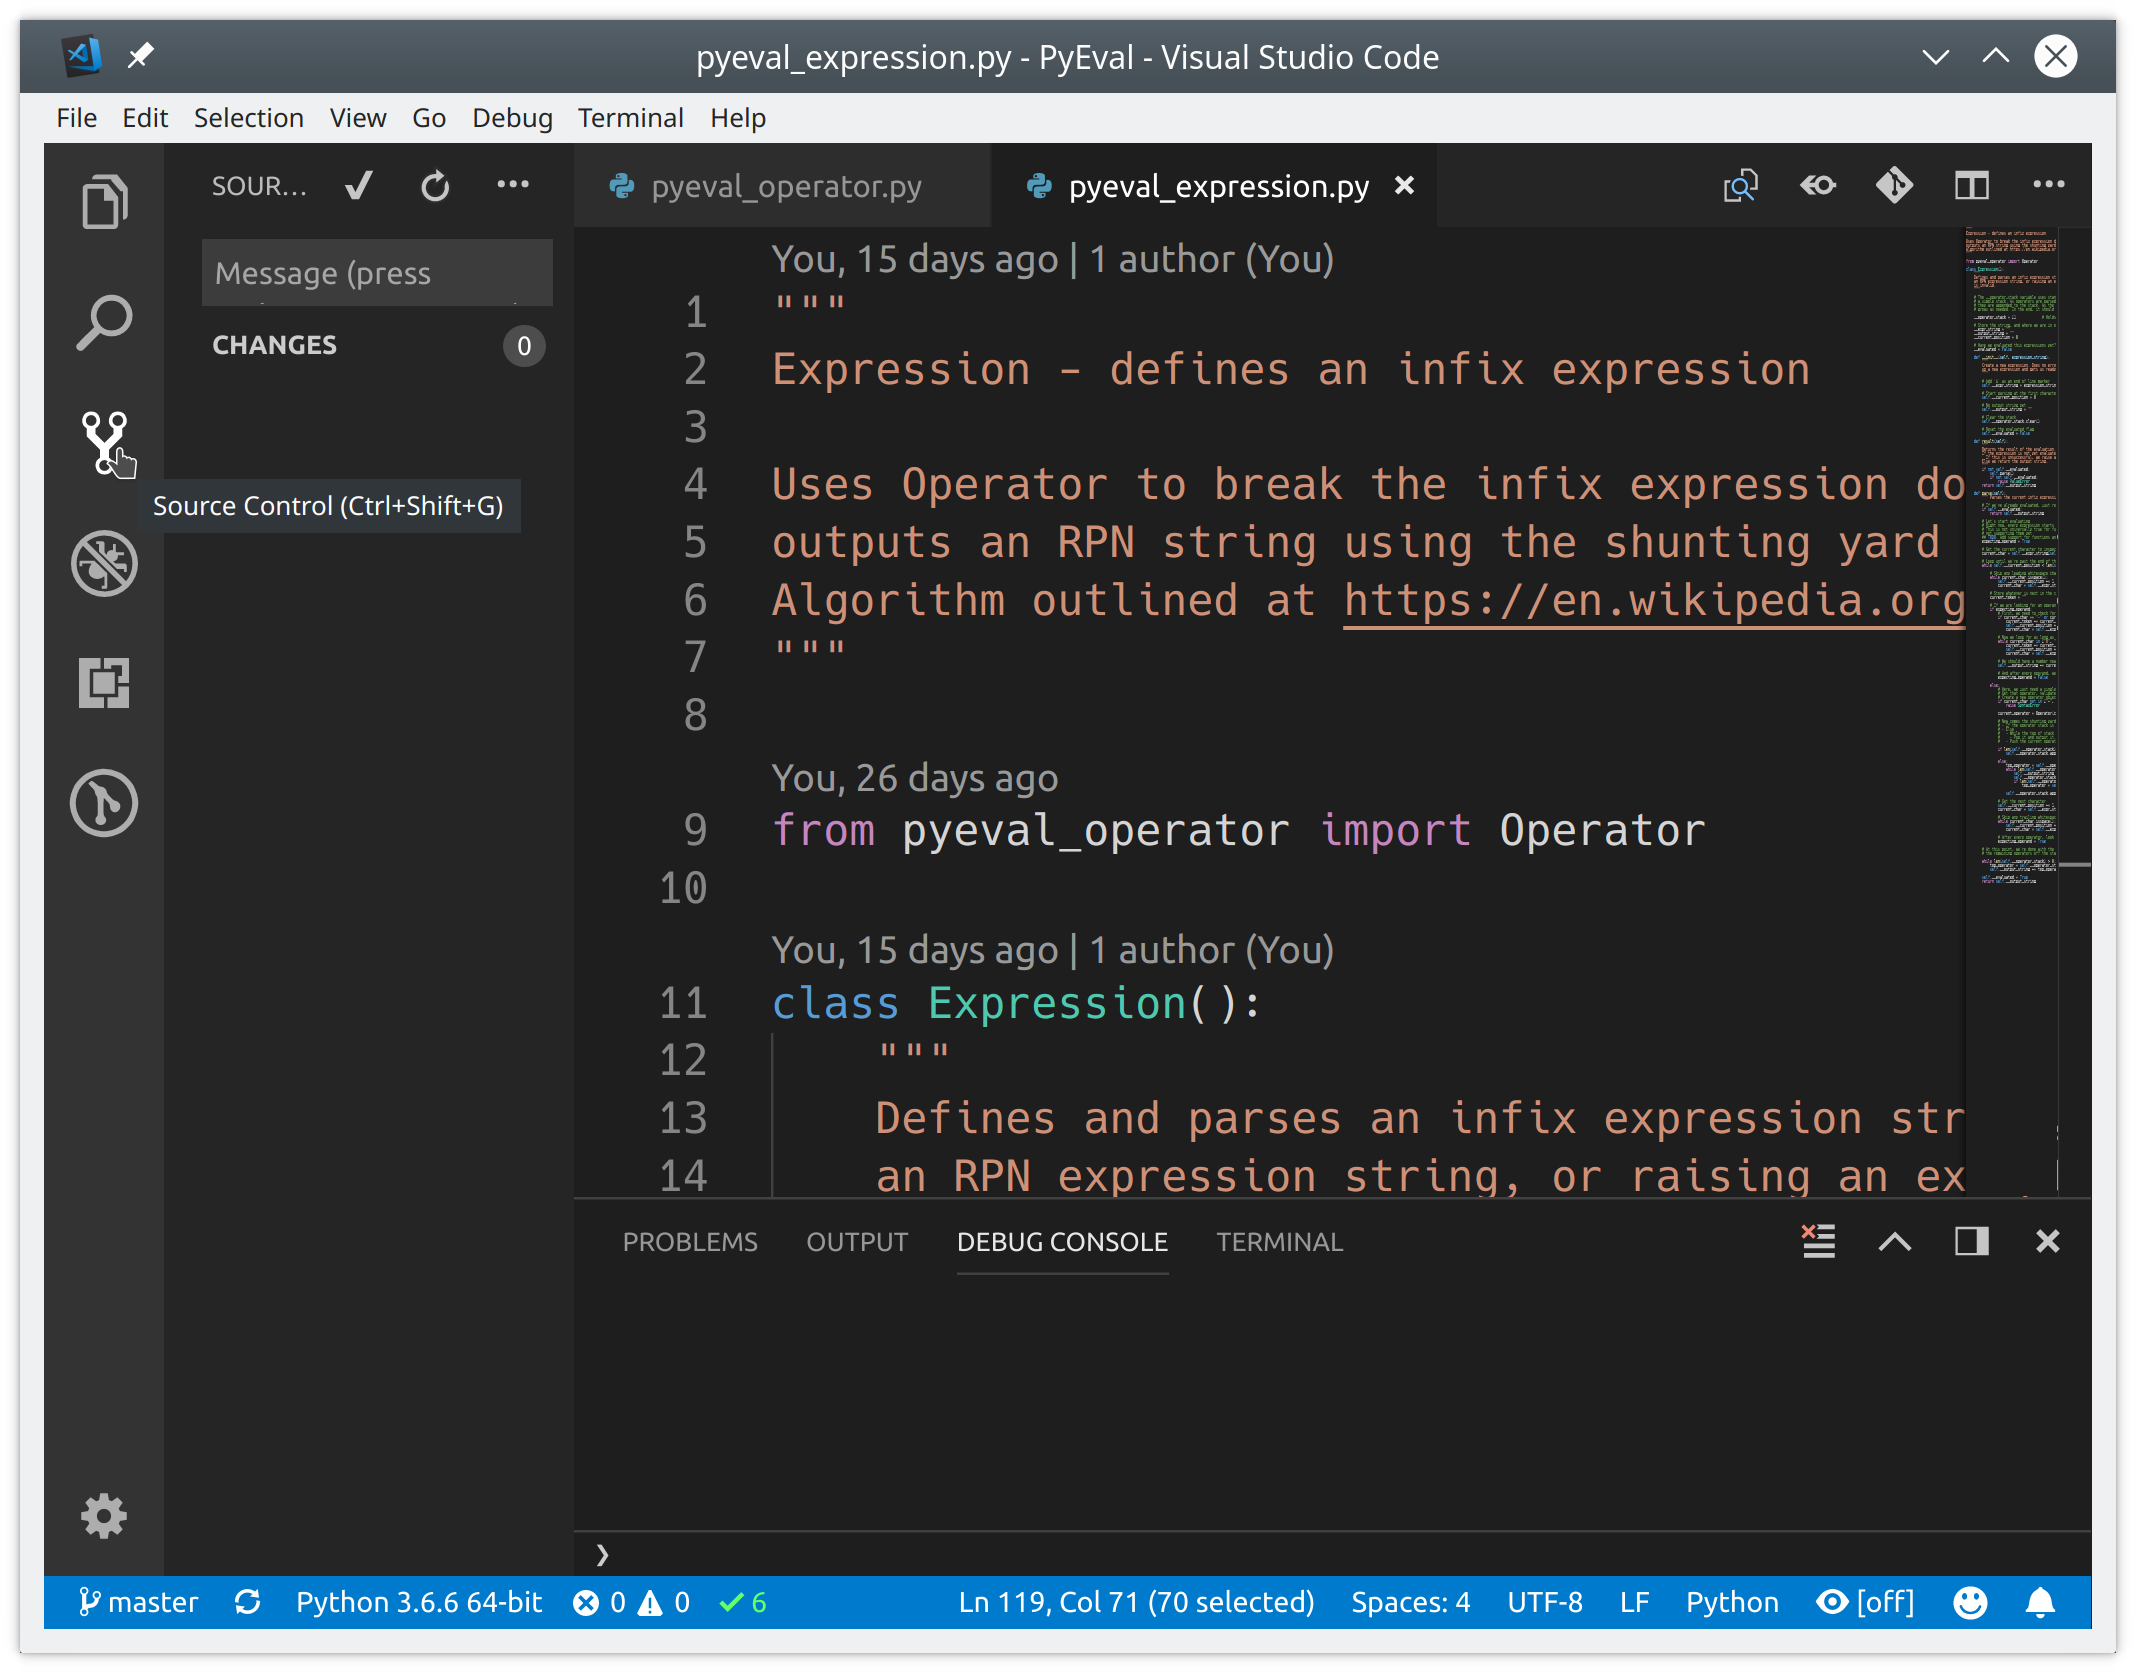
VS Code has built-in support for source control management, and ships with support for Git and GitHub right out of the box. You can install support for other SCM’s in VS Code, and use them side by side. Source control is accessible from the Source Control view:
If your project folder contains a .git folder, VS Code automatically turns on the full range of Git/GitHub functionality. Here are some of the many tasks you can perform:
- Commit files to Git
- Push changes to, and pull changes from, remote repos
- Check-out existing or create new branches and tags
- View and resolve merge conflicts
- View diffs
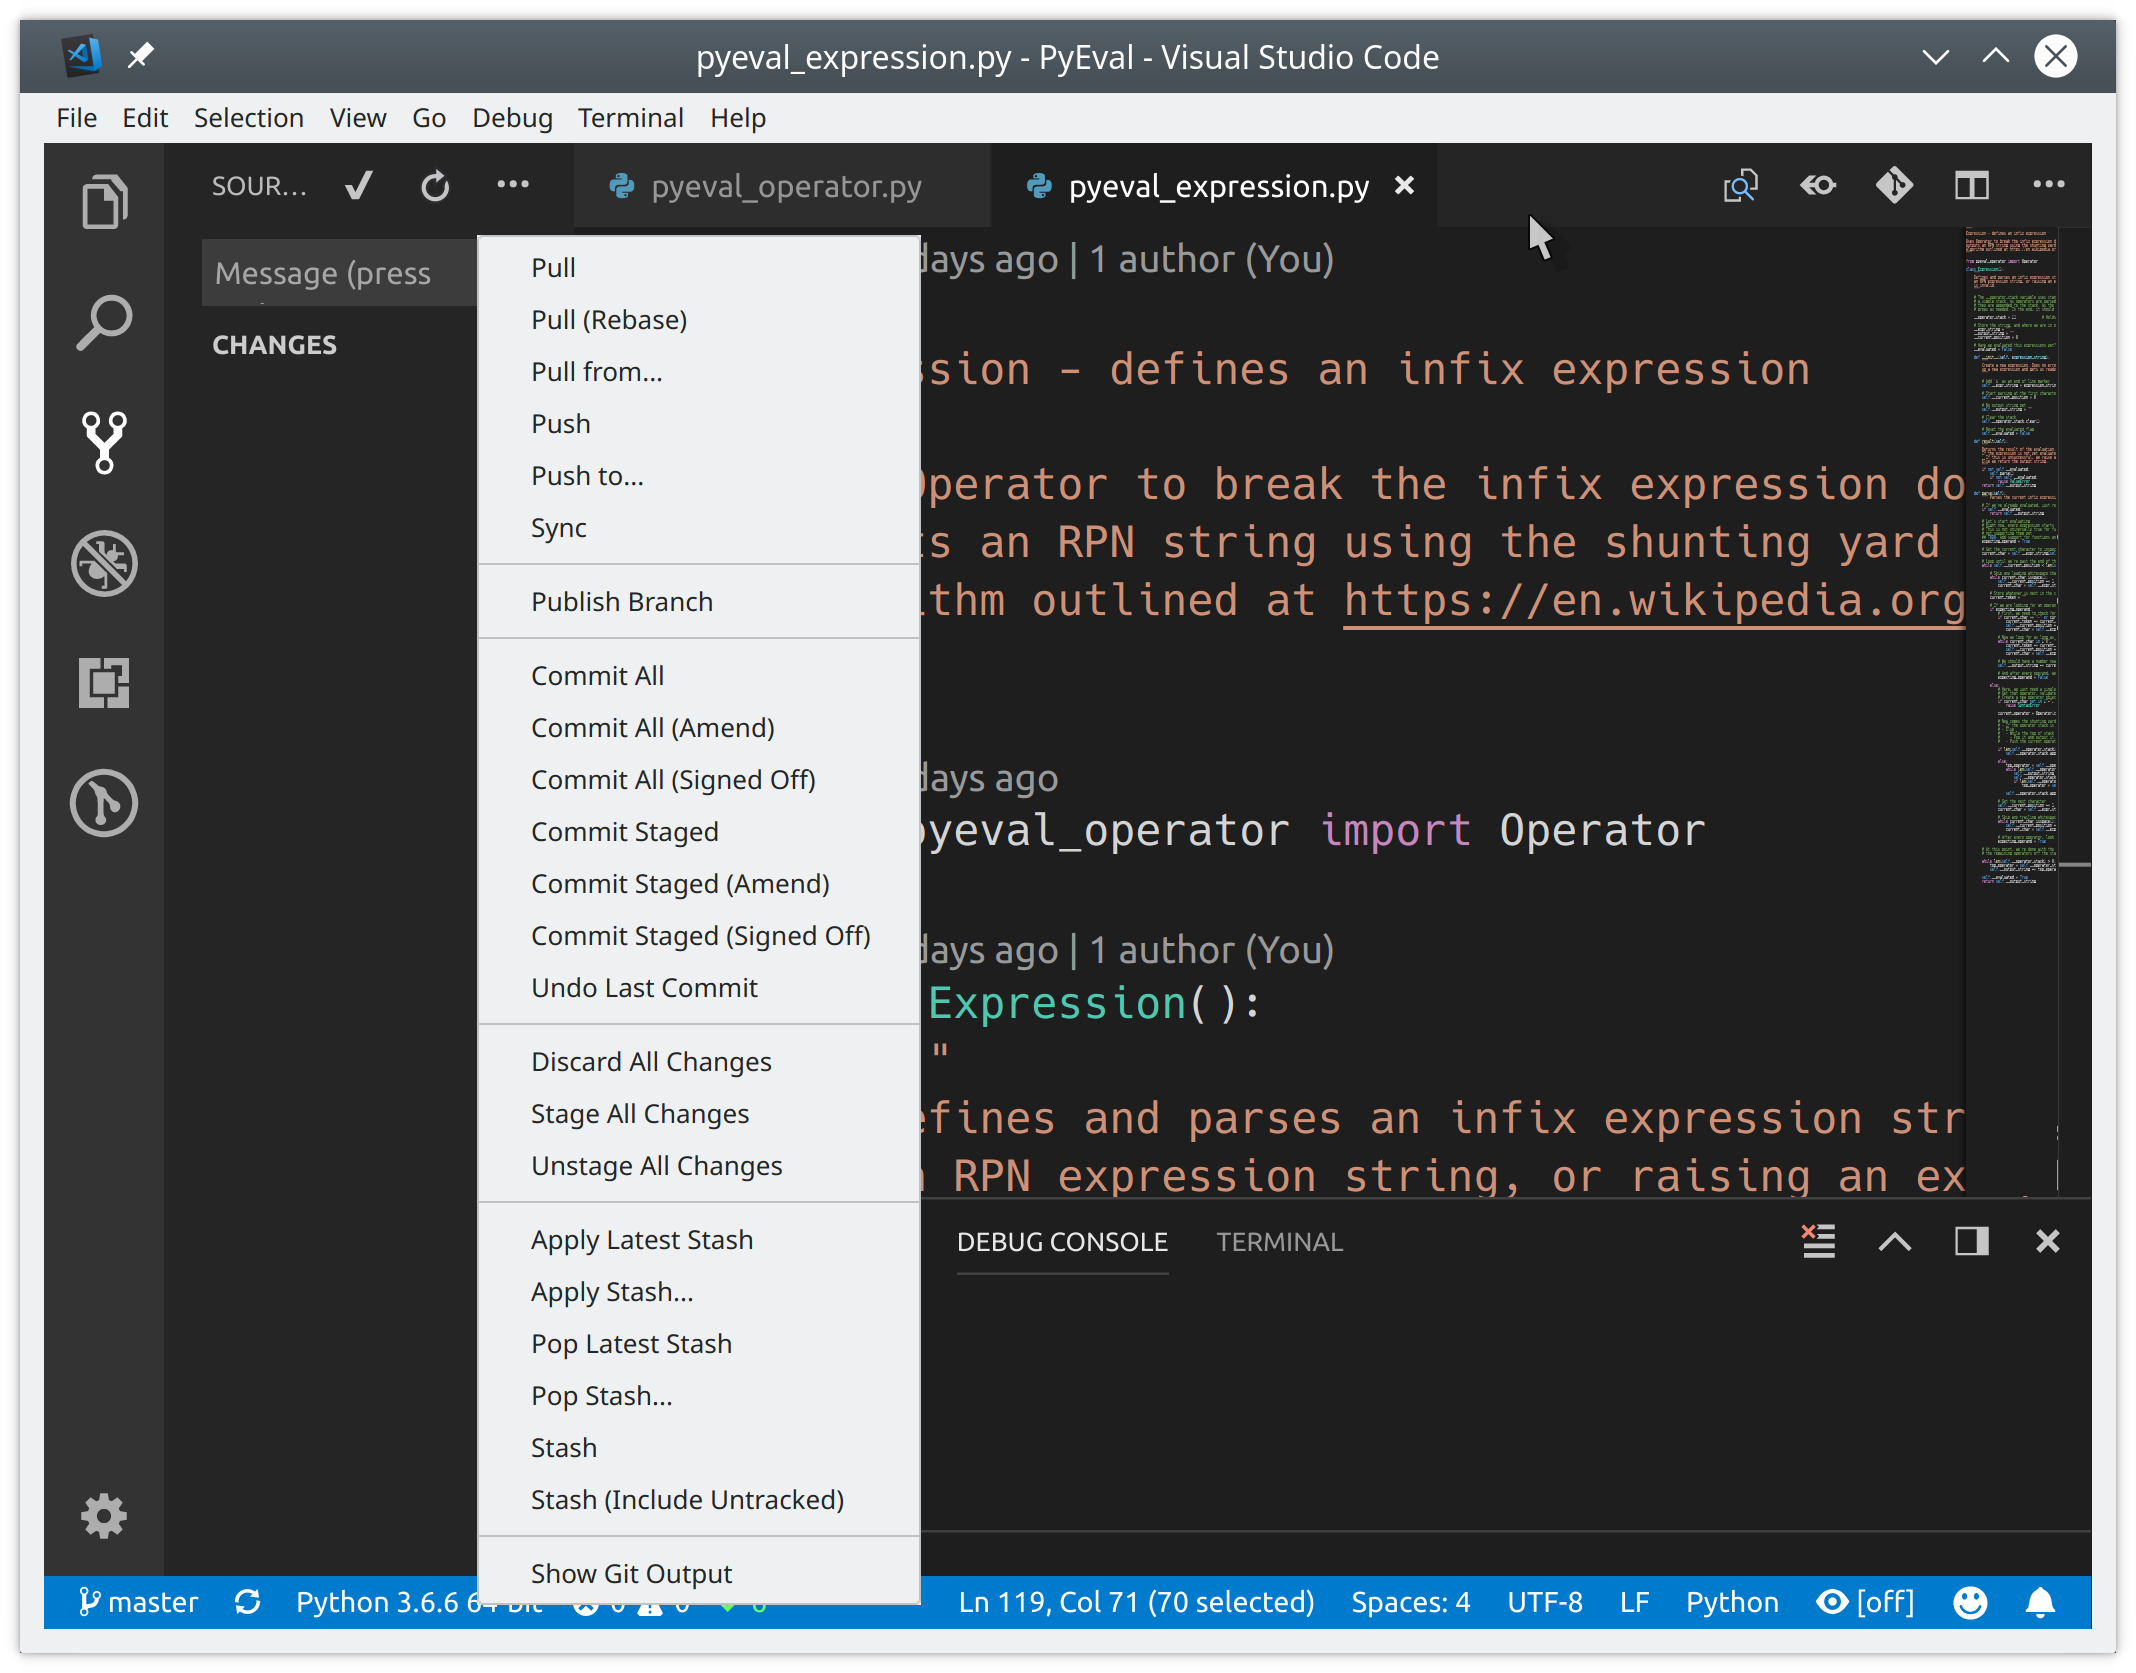
All of this functionality is available directly from the VS Code UI:
VS Code will also recognize changes made outside the editor and behave appropriately.
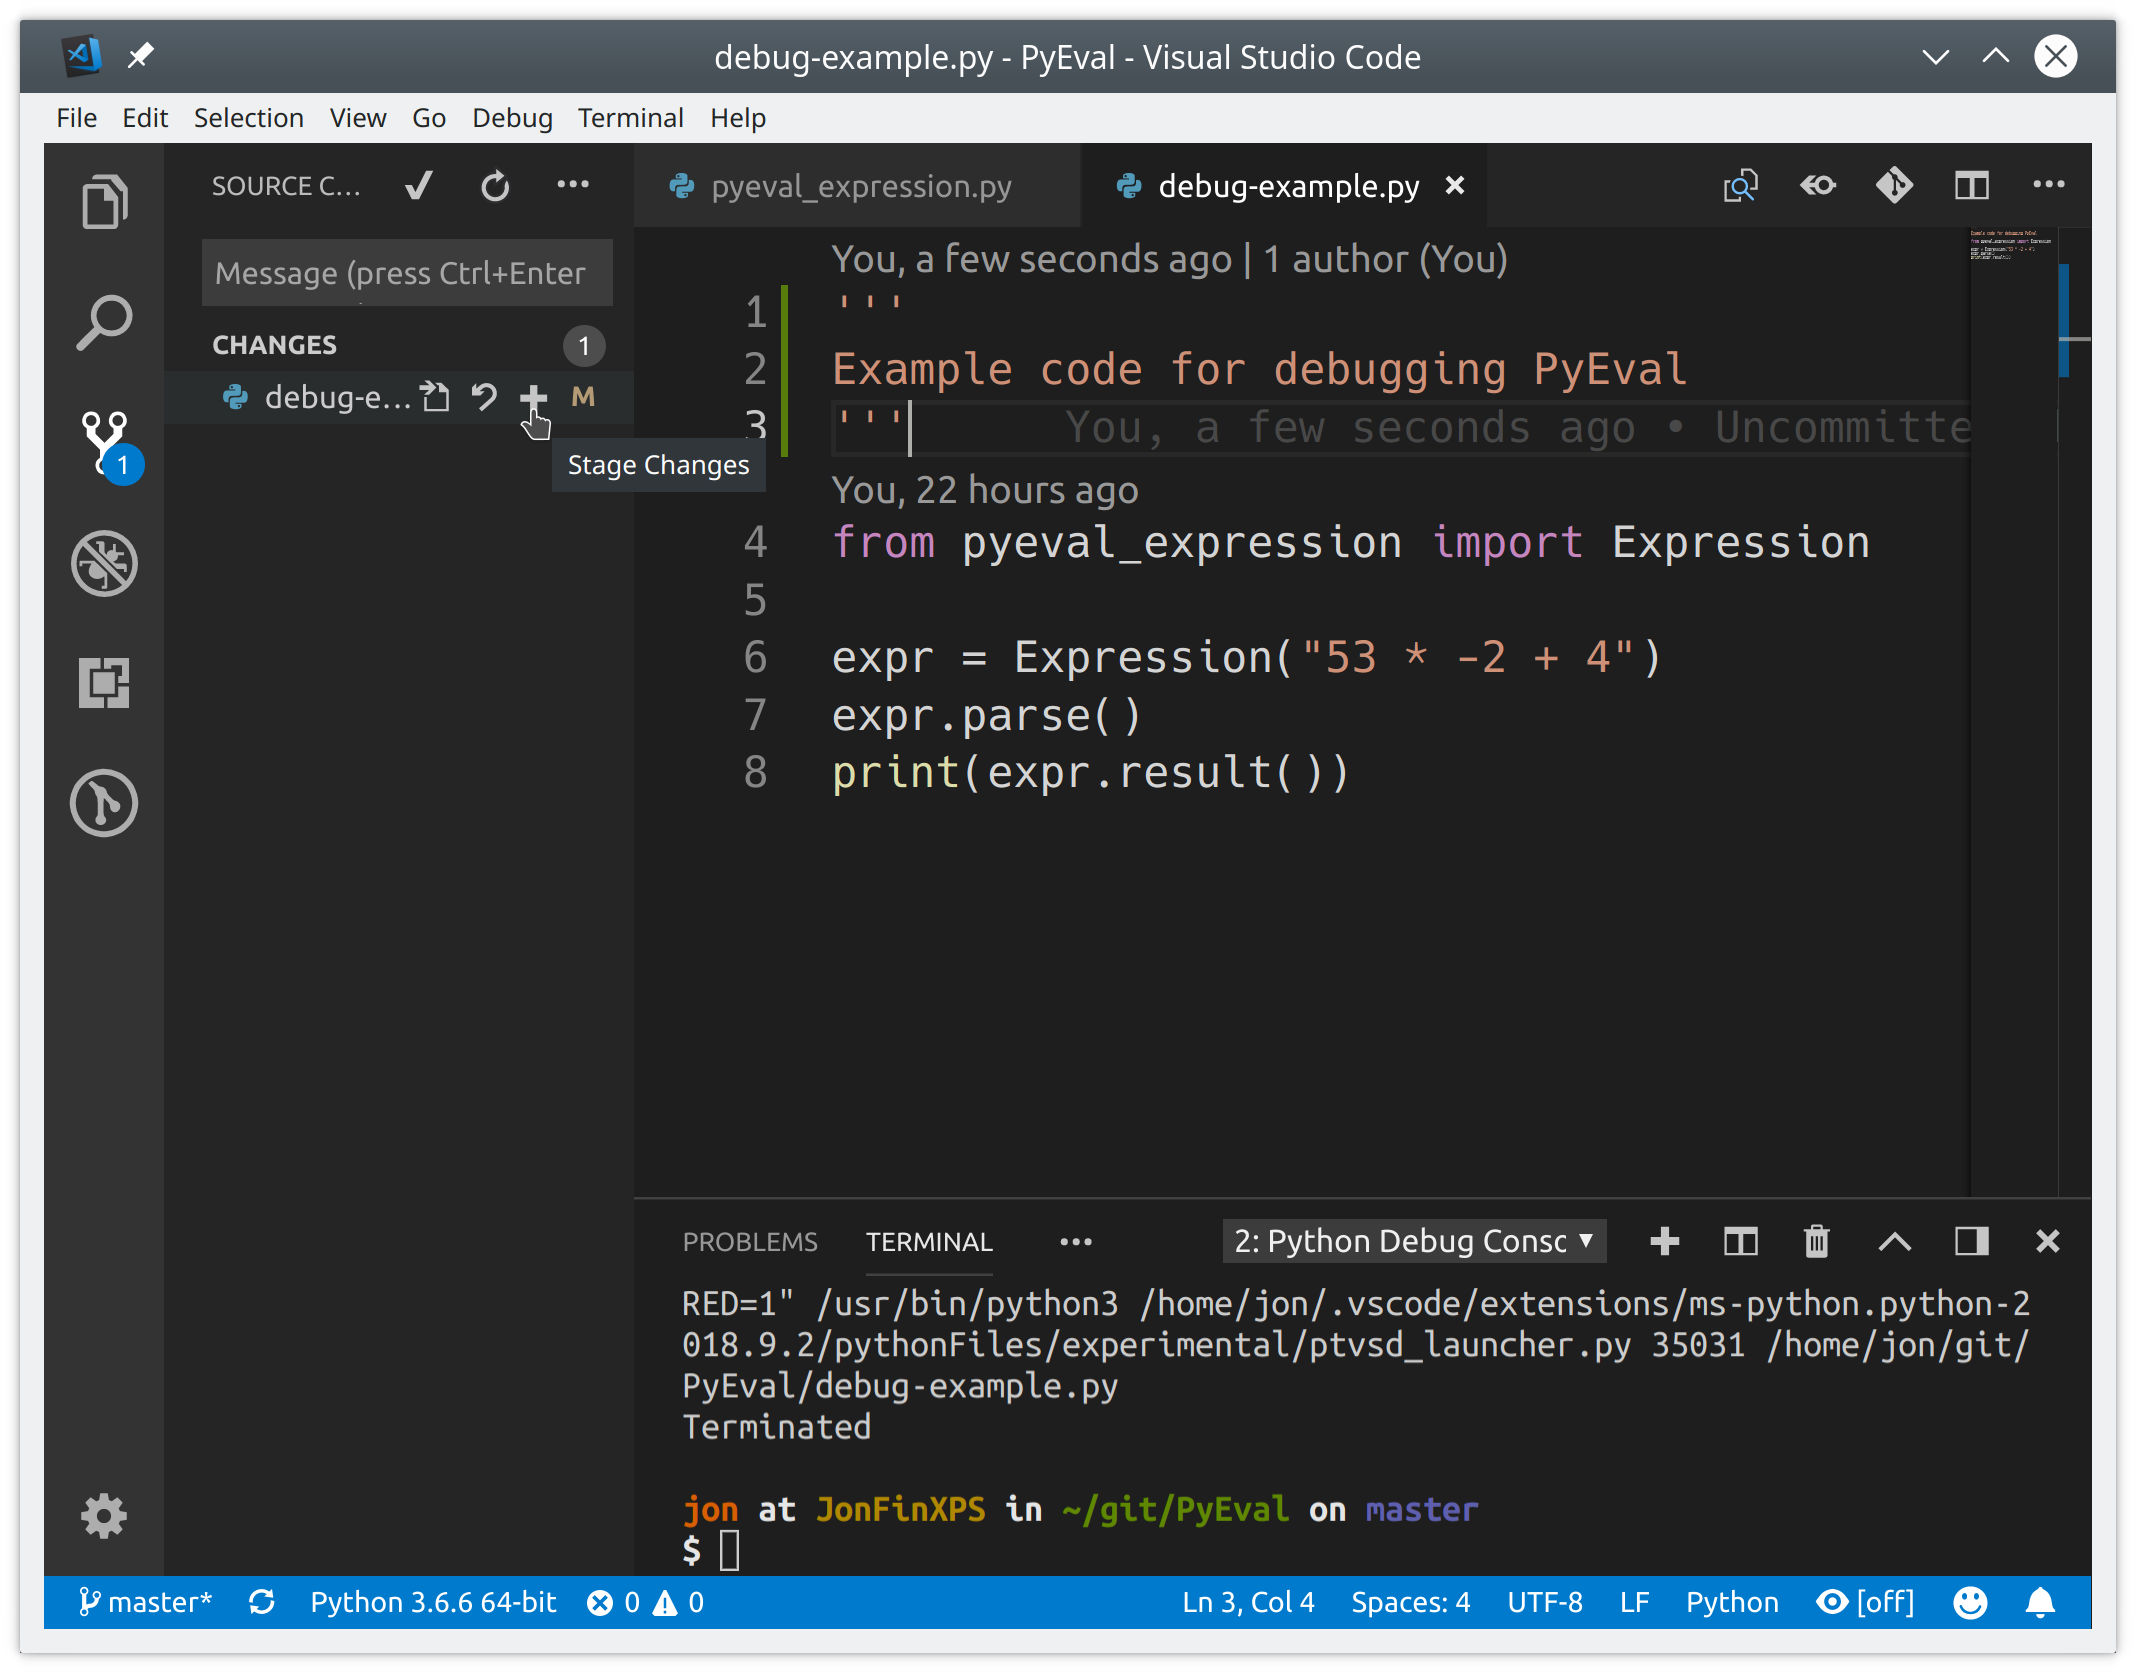
Committing your recent changes within VS Code is a fairly straightforward process. Modified files are shown in the Source Control view with an M marker, while new untracked files are marked with a U. Stage your changes by hovering over the file and then clicking the plus sign (+). Add a commit message at the top of the view, and then click the check mark to commit the changes:
You can push local commits to GitHub from within VS Code as well. Select Sync from the Source Control view menu, or click Synchronize Changes on the status bar next to the branch indicator.
Conclusion
Visual Studio Code is one of the coolest general purpose editors and a great candidate for Python development. In this article, you learned:
- How to install VS Code on any platform
- How to find and install extensions to enable Python-specific features
- How VS Code makes writing a simple Python application easier
- How to run and debug existing Python programs within VS Code
- How to work with Git and GitHub repositories from VS Code
Visual Studio Code has become my default editor for Python and other tasks, and I hope you give it a chance to become yours as well.
If you have questions or comments, please reach out in the comments below. There is also a lot more information at the Visual Studio Code website than we could cover here.
The author sends thanks to Dan Taylor from the Visual Studio Code team at Microsoft for his time and invaluable input in this article.
[ Improve Your Python With 🐍 Python Tricks 💌 – Get a short & sweet Python Trick delivered to your inbox every couple of days. >> Click here to learn more and see examples ]
from Real Python
read more


No comments:
Post a Comment